Delicious and versatile Ricotta can be used in many recipes, but the way I make it, it can also be sliced and used in sandwiches, etc.
Pour milk into heavy bottomed kettle. Bring slowly up to almost boiling (at least 200 degrees F)
Add 1/2 cup vinegar. Remove from heat. Stir briefly. Let rest for 15 minutes.
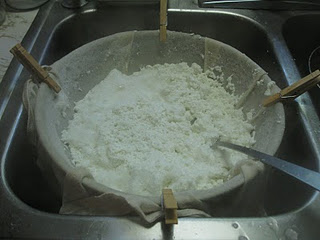
Pour into colander lined with a cotton cloth. Gather up the corners of the cloth, and using a large spoon, press the whey from the cheese curds.
Turn the curds into a bowl and work in 1 teaspoon salt.
While it is still hot, I press the ricotta into a bowl,cover with plastic wrap and chill in the refrigerator.
When cold, it can be sliced or crumbled to use.
Wrap carefully to freeze. It keeps nicely for several months.
The most difficult part about making yogurt is keeping the temperature of the ferment stable and warm for a long enough period of time for the bacteria to do thier work. Using a crockpot as your fermentation vessle will make holding the temperature steady easier without the need for a yogurt maker.
Heat the milk to 185⁰F in a double boiler or in a heat proof bowl that snugly fits on top of pot of simmering water.
Remove the milk from the heat and let it cool to 105⁰-122⁰F. Placing your culture in milk that is too hot will kill the culture and milk that is too cool will not allow the reaction to occur.
Stir in the culture and place the yogurt into a glass container that has a tight fitting lid (I use pyrex dishes but I know others who use baby food jars). For store bought yogurt or homemade yogurt add ½ cup yogurt per 1 gallon of milk. If you are using cultures purchased from a cheese making supplier then follow the package instructions.
Set your jars in bottom of a slow cooker and fill with water and set it to “warm” setting. Be sure to keep a close eye on the temperature of the water.
Incubate the yogurt for 6-8 hours.
The trick is to keep the temperature of your yogurt between 98⁰ and 130⁰F. I have tried the crockpot method written above, but my “warm” setting was too hot. My solution was to turn the crockpot on low for 15 minutes. Then I turn the crockpot off and wrap in a towel and place it in a warm oven (preheated the oven to the lowest setting then turned it off and let it cool for 10 minutes before placing the yogurt in the oven). This method seems to give me the best results. You will have to play with the settings in your own home to come up with a solution that works best for you.
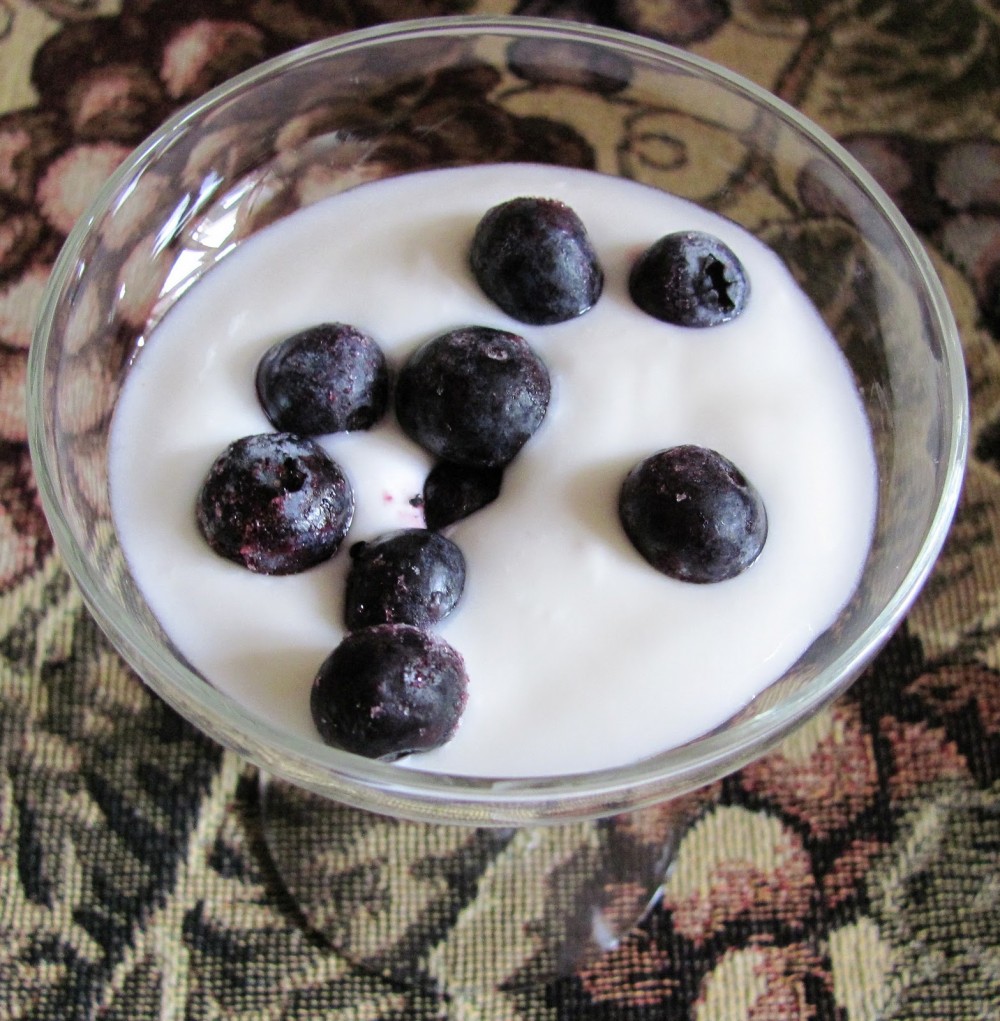
To stop the reaction, place your yogurt in the refrigerator. You can now flavor your yogurt with anything that you want. I like to add fruit and honey or fruit and maple syrup to mine.
Start with cultured cream to make a butter that is sweet and sour with complex, wonderful flavors.
Stir the culture into the cream. Cover the jar with a cloth napkin secured by a rubber band. Leave at room temperature for 24 hours. Then transfer to the refrigerator to chill.
Put the chilled cultured cream in a mixer, food processor, or blender. (Don’t use a Vita-Mix or the mixture will heat up.) Whatever your container is, fill it it to less than half because the cream will expand during the churning.
Turn on the machine. The process of churning may take between 5 and 10 minutes. The cream will go through stages on its way to butter. First, it will expand its volume and become whipped cream. Then the butter solids will start to clump together and separate from the liquid (buttermilk). The whole mixture will appear grainy. Then the solids will clump together even more until you have big chunks of butter floating in buttermilk. Run machine just a minute or so more to complete the process of clumping the butter solids.
Put the butter solids in a bowl. Save the liquid buttermilk for soaking grains (unless it is stinky, which can happen if the cream got very sour).
Repeat with all the cream until all of it is converted into butter solids.
Add cold, clean water to the bowl and use a hard spoon to press and fold the butter into the sides of the bowl. The water will quickly turn clowdy as the remaining buttermilk releases from the butter solids.
Change the water repeatedly. Keep washing the butter until the water stays clear. When the water is clear, you have clean butter! The cleaner the butter, the longer it will last. The washing water isn’t true buttermilk as it is too watered down. It makes good water for animals or the compost.
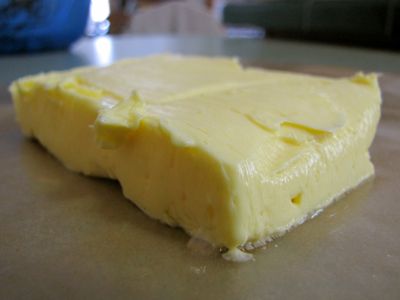
Pour off the remaining water. Press and fold the butter more to release more water.
Mix in the sea salt.
Transfer the butter to some kind of mold, or you can just shape it into a log or chunks.
Wrap gently in natural wax paper or parchment paper. Put in additional wrappings if desired (to prevent off flavors or freezer burn). Refrigerate or freeze.
A super easy, versatile and tasty cheese — use in salad dressings or dips, in place of cream cheese, or spread on toast.
Put the milk in a half gallon or gallon size jar. Sprinkle the mesophilic culture on it and stir in with a wooden spoon.
Put the 1/4 cup of water in a little jar or cup. Add one drop of the double-strength liquid rennet. Stir well. Take one tablespoon of this solution and add it to the jar of milk. Stir well. (If using regular strength liquid rennet, mix one drop of it with the water, but add 2 tablespoons of the solution to the milk and stir well.) This solution will keep in the refrigerator for one or two weeks. If it smells disagreeable, toss it. (It will smell like nothing when it is still good.)
Cover the jar of milk with a cloth napkin and secure with a rubber band. Let sit out at room temperature to culture for 24 hours.
Place the colander inside a pot or bowl. Make sure it is big enough to catch up to a quart of the whey that will drip out. Layer two pieces of 90 thread count cheesecloth in the colander.
The milk should now be thick and gelled, much like a firm yogurt. Transfer these curds into the cheesecloth. It is okay if they fall apart. Do it gently, but don’t be concerned about keeping them all in one piece.
Tie up the opposite corners of the cheesecloth, making a bag to enclose the curds. Lay the ends of the cheesecloth on top of the bundle of curds in the colander. Don’t let the ends of the cheesecloth hang out of the colander, or the whey will drip down into a puddle on your counter.
Leave this setup out at room temperature for 24 hours, during which time the whey will drip out and the curds will thicken. You can do this in the refrigerator if you prefer a less sour cheese.
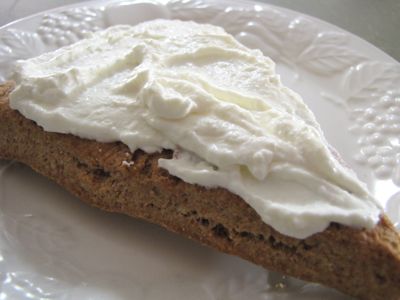
Untie the cheesecloth and check the consistency of the cheese. Let it hang longer if you wish the cheese to thicken more. At this point, it is usually spreadable and soft, thicker than mayonnaise but not dry.
Transfer the cheese to a clean bowl.
Optional: Add 1/2 teaspoon of sea salt. Stir. Adjust amount of salt to taste. Refrigerate.
Save and refrigerate the whey that drips out; it may be used in lacto-ferments.
Raw milk yogurt is very easy to make at home-even without a yogurt maker! This recipe uses the cooler method to keep the yogurt warm enough to culture properly.
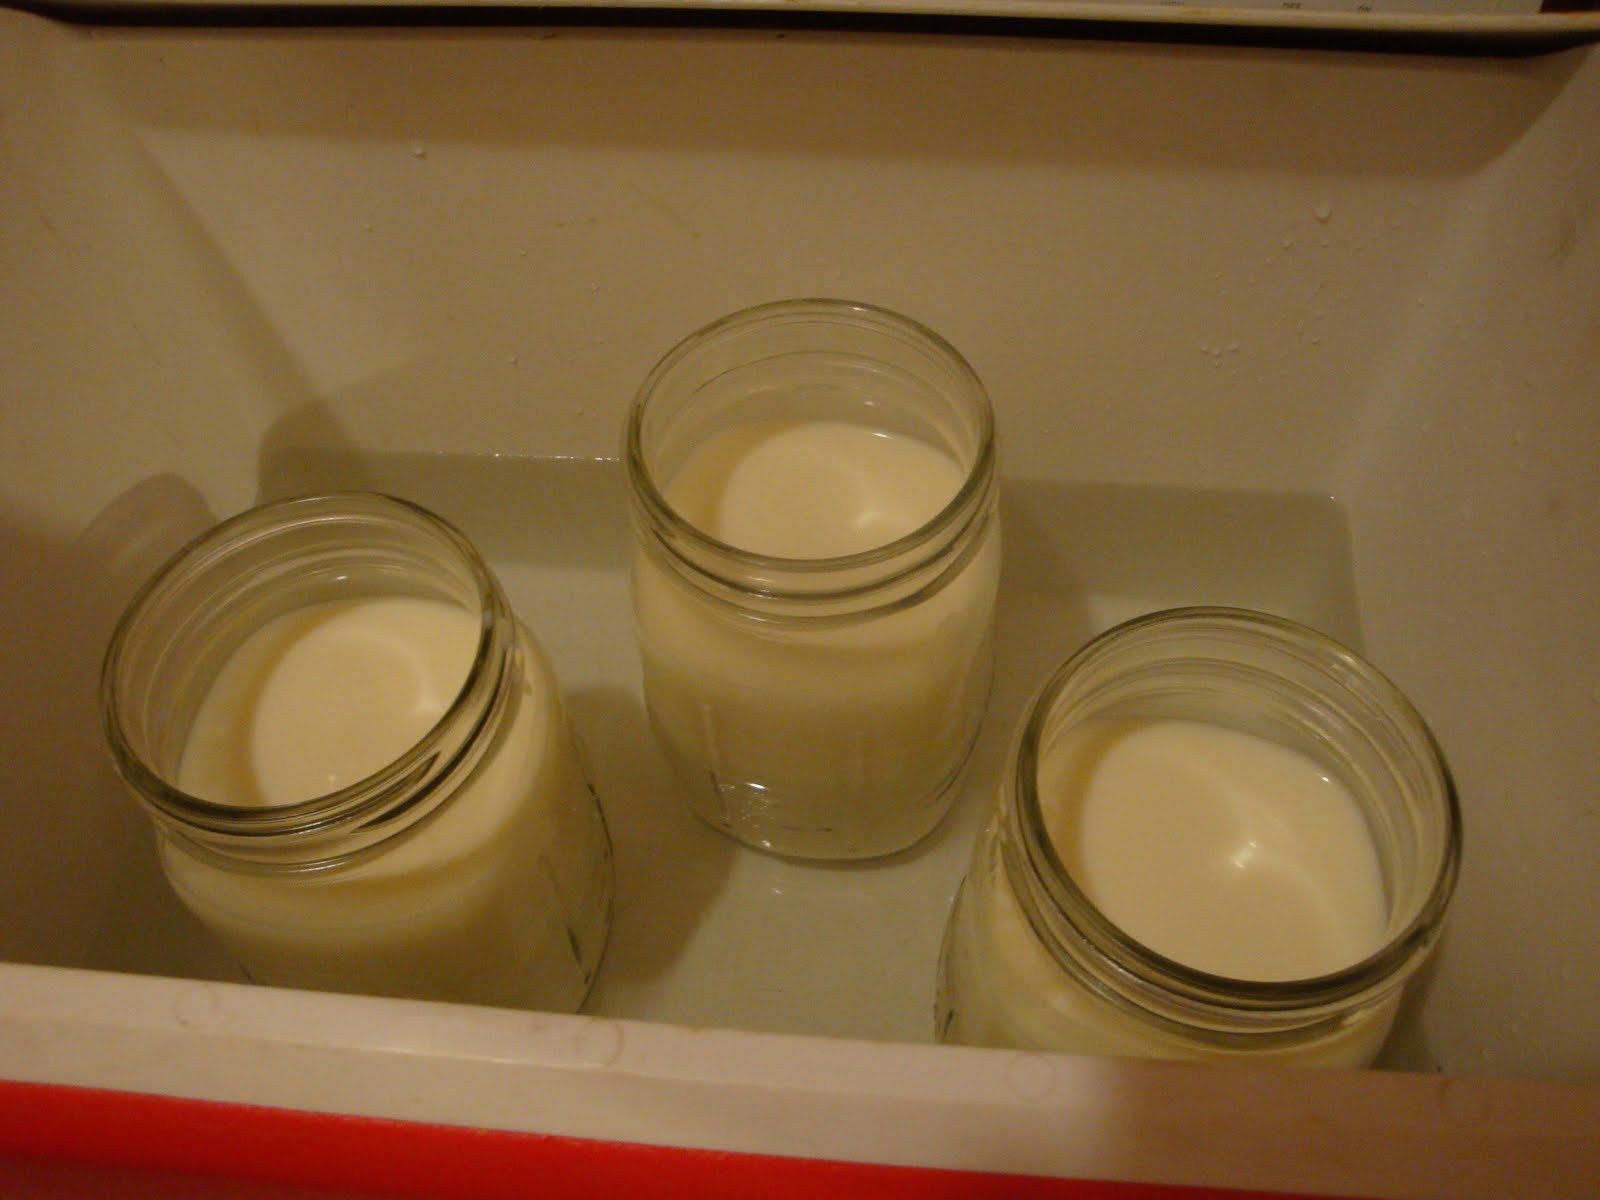
In a stockpot, place up to four 32-oz (1-quart) mason jars inside. Fill the jars with raw milk.
Fill the pot with warm water (about halfway up the mason jars) and gently begin heating at a low to medium temperature. Keep a close watch on the pot. Use a candy thermometer to gauge the temperature of the milk. The ideal temperature for growing yogurt is somewhere between 98-110 degrees, which should feel comfortably warm to the touch.
When the milk is warm enough, place 1-2 tablespoons of a good quality, no-additive, whole fat plain yogurt into each quart of milk, and stir well to mix the cultures.
Place the mason jars of milk into a cooler filled with very warm water. Close the cooler tightly and cover with blankets or towels for insulation.
Leave the milk to culture for 6-24 hours. If culturing for more than 6 hours, you may have to add more hot water to the cooler to maintain the proper temperature.
When your yogurt is done, store in the refrigerator. Keep back a portion of the fresh yogurt to culture the next batch.
One of the things I hope to accomplish with this blog is to make it easy and common place to have cultured foods as part of your everyday life. Let’s face if it is to hard or complicated most people are not going to do it. So If I can teach you a few things to make life easier, hopefully you will start making and enjoying these life giving foods. Making kefir whey and and cheese is something I do many times a week. It doesn’t take long and will cultured a multitude of foods. Kefir has so many probiotics, at least 30, and that does not even account for the good yeast that you get too. So grab your kefir, a bowl and a coffee filter and we are ready to begin. Easy, I promise.
Place a basket style coffee filter in a strainer and place the strainer in a bowl.
Pour prepared kefir into the coffee strainer. The bowl will catch the whey which is the liquid that will drop through the filter.
Cover and place in the fridge overnight. I normally get about 1 cup of whey and 1 cup of kefir cheese out of 2 cups of kefir.
The next day you have a beautiful lump of kefir cheese in the filter.
Remove the cheese from the strainer and save the whey that has dripped into the bowl for making fermented drinks or cultured vegetables by placing the whey in a glass jar in the fridge.
You can use the cheese immediately or place it in a airtight container in the fridge.