I am in love with white whole wheat flour. I use it in place of hard red wheat. The kids enjoy it! I started making pita while in pastry school, and I really enjoy eating them better than store-bought. On a side note, make sure your skillet is piping hot in order to get the bread to puff up.
In a mixing bowl, add whole wheat flour, salt, yeast, olive oil, and water.
Knead for 7 minutes unitl it forms a tight ball.
Let rise over 6-8 hours (or over night), or until it has doubled.
Divide dough into 2.5 oz balls, this recipe should give you 10.
Let it rest for 10 minute, cover with a damp towel.
Flaten dough balls, cover again, and rest for another 10 minutes.
In the meantime, heat a cast iron skillet until it starts to smoke.
Roll dough to a quarter inch.
Place each pita on the hot skillet, cook until bread puffs in the center.
Flip over to cook on the other side.
Remove and place on a rack to cool.
I’m always running behind getting dinner on the table. So when I want an easy meal, I make a homemade pizza. What is so easy is that the crust takes hardly any time to prepare and, while I am waiting for it to rise, I am preparing my toppings! Because of the sprouted flour used, the flavor has a natural sweetness and nuttiness to it, which I love!
In a small bowl, add 1/2 cup of lukewarm water, 1 teaspoon of honey and the yeast (to proof yeast).
When yeast is proofed, mix with the flour, salt and honey (optional) in another bowl and stir.
Add 3/4 cup of water to start and add more, if needed, until the ingredients hold together.
Form into a ball and set aside for 10-20 minutes until it doubles in size.
Use in my Chicken Pesto Pizza recipe!
I have tried many grain-free and gluten-free pizza crust recipes, but none of them quite measured up. Either they were too eggy, too fragile, or too crumbly and dry. This grain-free pizza crust has an excellent texture though. It is springy, soft, holds up to toppings, can be thin-ish or thick, and when cooked on a pizza stone, it is crispy on the bottom. The taste is great as well, especially with the added herbs. Most people would not know that it isn’t made with white flour.
The batter is versatile and would be a wonderful base for a breakfast strata, made into rounds for a flatbread to sandwich just about anything, or poured on top of veggies to make pot pies or other quick casseroles. I imagine you could also sweeten the batter a bit and top a cobbler that way. Hope you enjoy!
Preheat oven and a pizza stone (if you have one) to 425 degrees.
If you do not have a pizza stone, line a large jelly roll pan or round pizza pan with parchment paper. If you do have a pizza stone, simply place a piece of parchment slightly larger than you want your pizza on top of a bread peel or cutting board.
In a medium bowl, mix together dry ingredients until no lumps remain and ingredients are well mixed.
Add beaten eggs and milk of choice. Stir until a thick batter forms, being sure to scrape down the sides of the bowl.
Pour the batter onto the parchment paper in a large round or rectangle, whichever you prefer. Use the back of a spoon or a rubber spatula to even to batter out to the thickness and shape that you prefer. Remember, it will rise.
If using a stone, pick up your baking peel or cutting board to transfer your parchment to the over. Quickly open the oven pick up a corner of the parchment. Slide it directly onto the hot stone. Bake for 10-12 minutes, depending on thickness until slightly golden.
Remove from the oven by sliding the parchment back onto the peel or cutting board. Top with sauce and toppings of choice and bake an additional 10-15 minutes; watch the bottom of the crust to make sure it is not burning.
If using a parchment lined pan, place in the hot oven and bake for 10-12 minutes. Remove from oven, top with sauce and toppings of choice and bake an additional 10-15 minutes.
Socca (or karantita) is the ideal gluten-free pizza crust — made of only three main ingredients: chickpea flour, water and olive oil. In this version, I spiced it with sumac and fresh rosemary. Once pan-fried, you can add your toppings of choice. For this vegetarian version, I added caramelized onions, sauteed mushrooms and tomatoes, black olives, and a vegan cashew cheese spread. It’s also delicious with soft goat cheese and anchovies!
Soak the chickpea flour overnight: In a bowl, add 2 cups of chickpea flour, 1½ cups of filtered water, and 2 tablespoons raw apple cider vinegar. Whisk together until there are no lumps. Cover and leave batter overnight on the counter.
Spice up the batter. The next day, you’ll have a batter that is ready to use! For this Middle Eastern take on socca, add 1 tablespoon extra virgin olive oil, 2 tablespoons fresh finely chopped rosemary, 1 teaspoon dried sumac, 2 teaspoons unrefined salt, ¼ teaspoon black pepper, and if you want a little kick, ¾ teaspoon chili pepper powder.
Oil the pan. Add 2-3 tablespoons of extra virgin olive oil to a 12” or 14” cast iron or nonstick pan, make sure the bottom and sides are oiled, then pour in the spiced chickpea batter. You can pour in a little at a time if you want a thinner crust, or pour it all in and get a thick crust. With this amount of batter, you will likely have a 1/3 inch thickness (I just cooked the batter at one time — you can see how that looks in the pictures on the post on my blog-slick link above).
Cook the socca pizza. Turn the heat on medium, and after 3-4 minutes, you’ll notice bubbles forming. Keep the heat at medium-low and cover if splashing (it shouldn’t be splashing a lot – if it is, you need to lower the heat). Cook on one side for 7-8 minutes or until the bottom has hardened and started to turn golden (lift up a little to check). Once one side has cooked, use a large flat spatula to flip the socca on the other side. Add more oil if it looks dry. Cook for another 7-8 minutes or until that side has also turned golden. Turn off heat and prepare toppings while the crust cools a bit.
Sauté the veggies and prepare other toppings. For this version, I sautéed 4 green onion stalks till translucent and starting to caramelize and added to it 2 medium chopped tomatoes and a mix of 8-10 crimini and white button mushrooms in a tablespoon of olive oil. You can add whatever toppings you would like and have on hand.
Add cheese layer. Soft goat cheese is one of my favorites!
Add the other toppings. When the sautéed veggies have cooled a bit, add them on top of the pizza and spread evenly. Slice 15-20 olives and sprinkle evenly over pizza.
Slice and eat. Cut into fourths with a knife, and serve lukewarm. You can keep any leftovers in the fridge – it makes a great and filling lunch!
Fry Bread is economical, versatile and delicious! Here is a simple way to also make it wholesome.
The night before you want to make the Fry Bread (or up to 12 hours before) combine the flour, salt and Sucanat in a small glass mixing bowl.
Add the sourdough starter and stir.
Add milk, a little at a time, and stir well until a stiff, kneadable dough forms.
Cover the bowl tightly with plastic wrap and let it sit at room temperature overnight or up to 12 hours.
Turn dough out onto floured work surface and sprinkle with the baking soda. I use unbleached flour for working the dough to prevent sticking.
Knead vigorously for 2 minutes.
Begin heating 1/2 inch of kettle rendered lard in a cast iron skillet on medium/low heat.
Divide the dough into 4 pieces, and roll them out into thin rounds. Be a little gentle. The rounds should be about 7 inches in diameter.
Carefully place one of the rounds into the pan. Let it fry until it is bubbly on top and browning on the bottom, then turn it over using metal tongs and fry the top until it is browning.
Remove the fry bread and drain on paper toweling. Continue frying the breads one by one.
Sprinkle with the “cinnamon-Sucanat” - (optional.)
Serve while warm! These may be topped with many other things as well. You can use them in a similar way to tortillas. Some people like to make a dish like a taco or tosdada using fry bread.
You may also add other things to the dough, like sauteed mushrooms, cooked chopped meats, cooked fresh vegetables, and suitable seasonings for whatever you wish.
This recipe may be doubled or made even bigger, depending on how many Fry Breads you need.
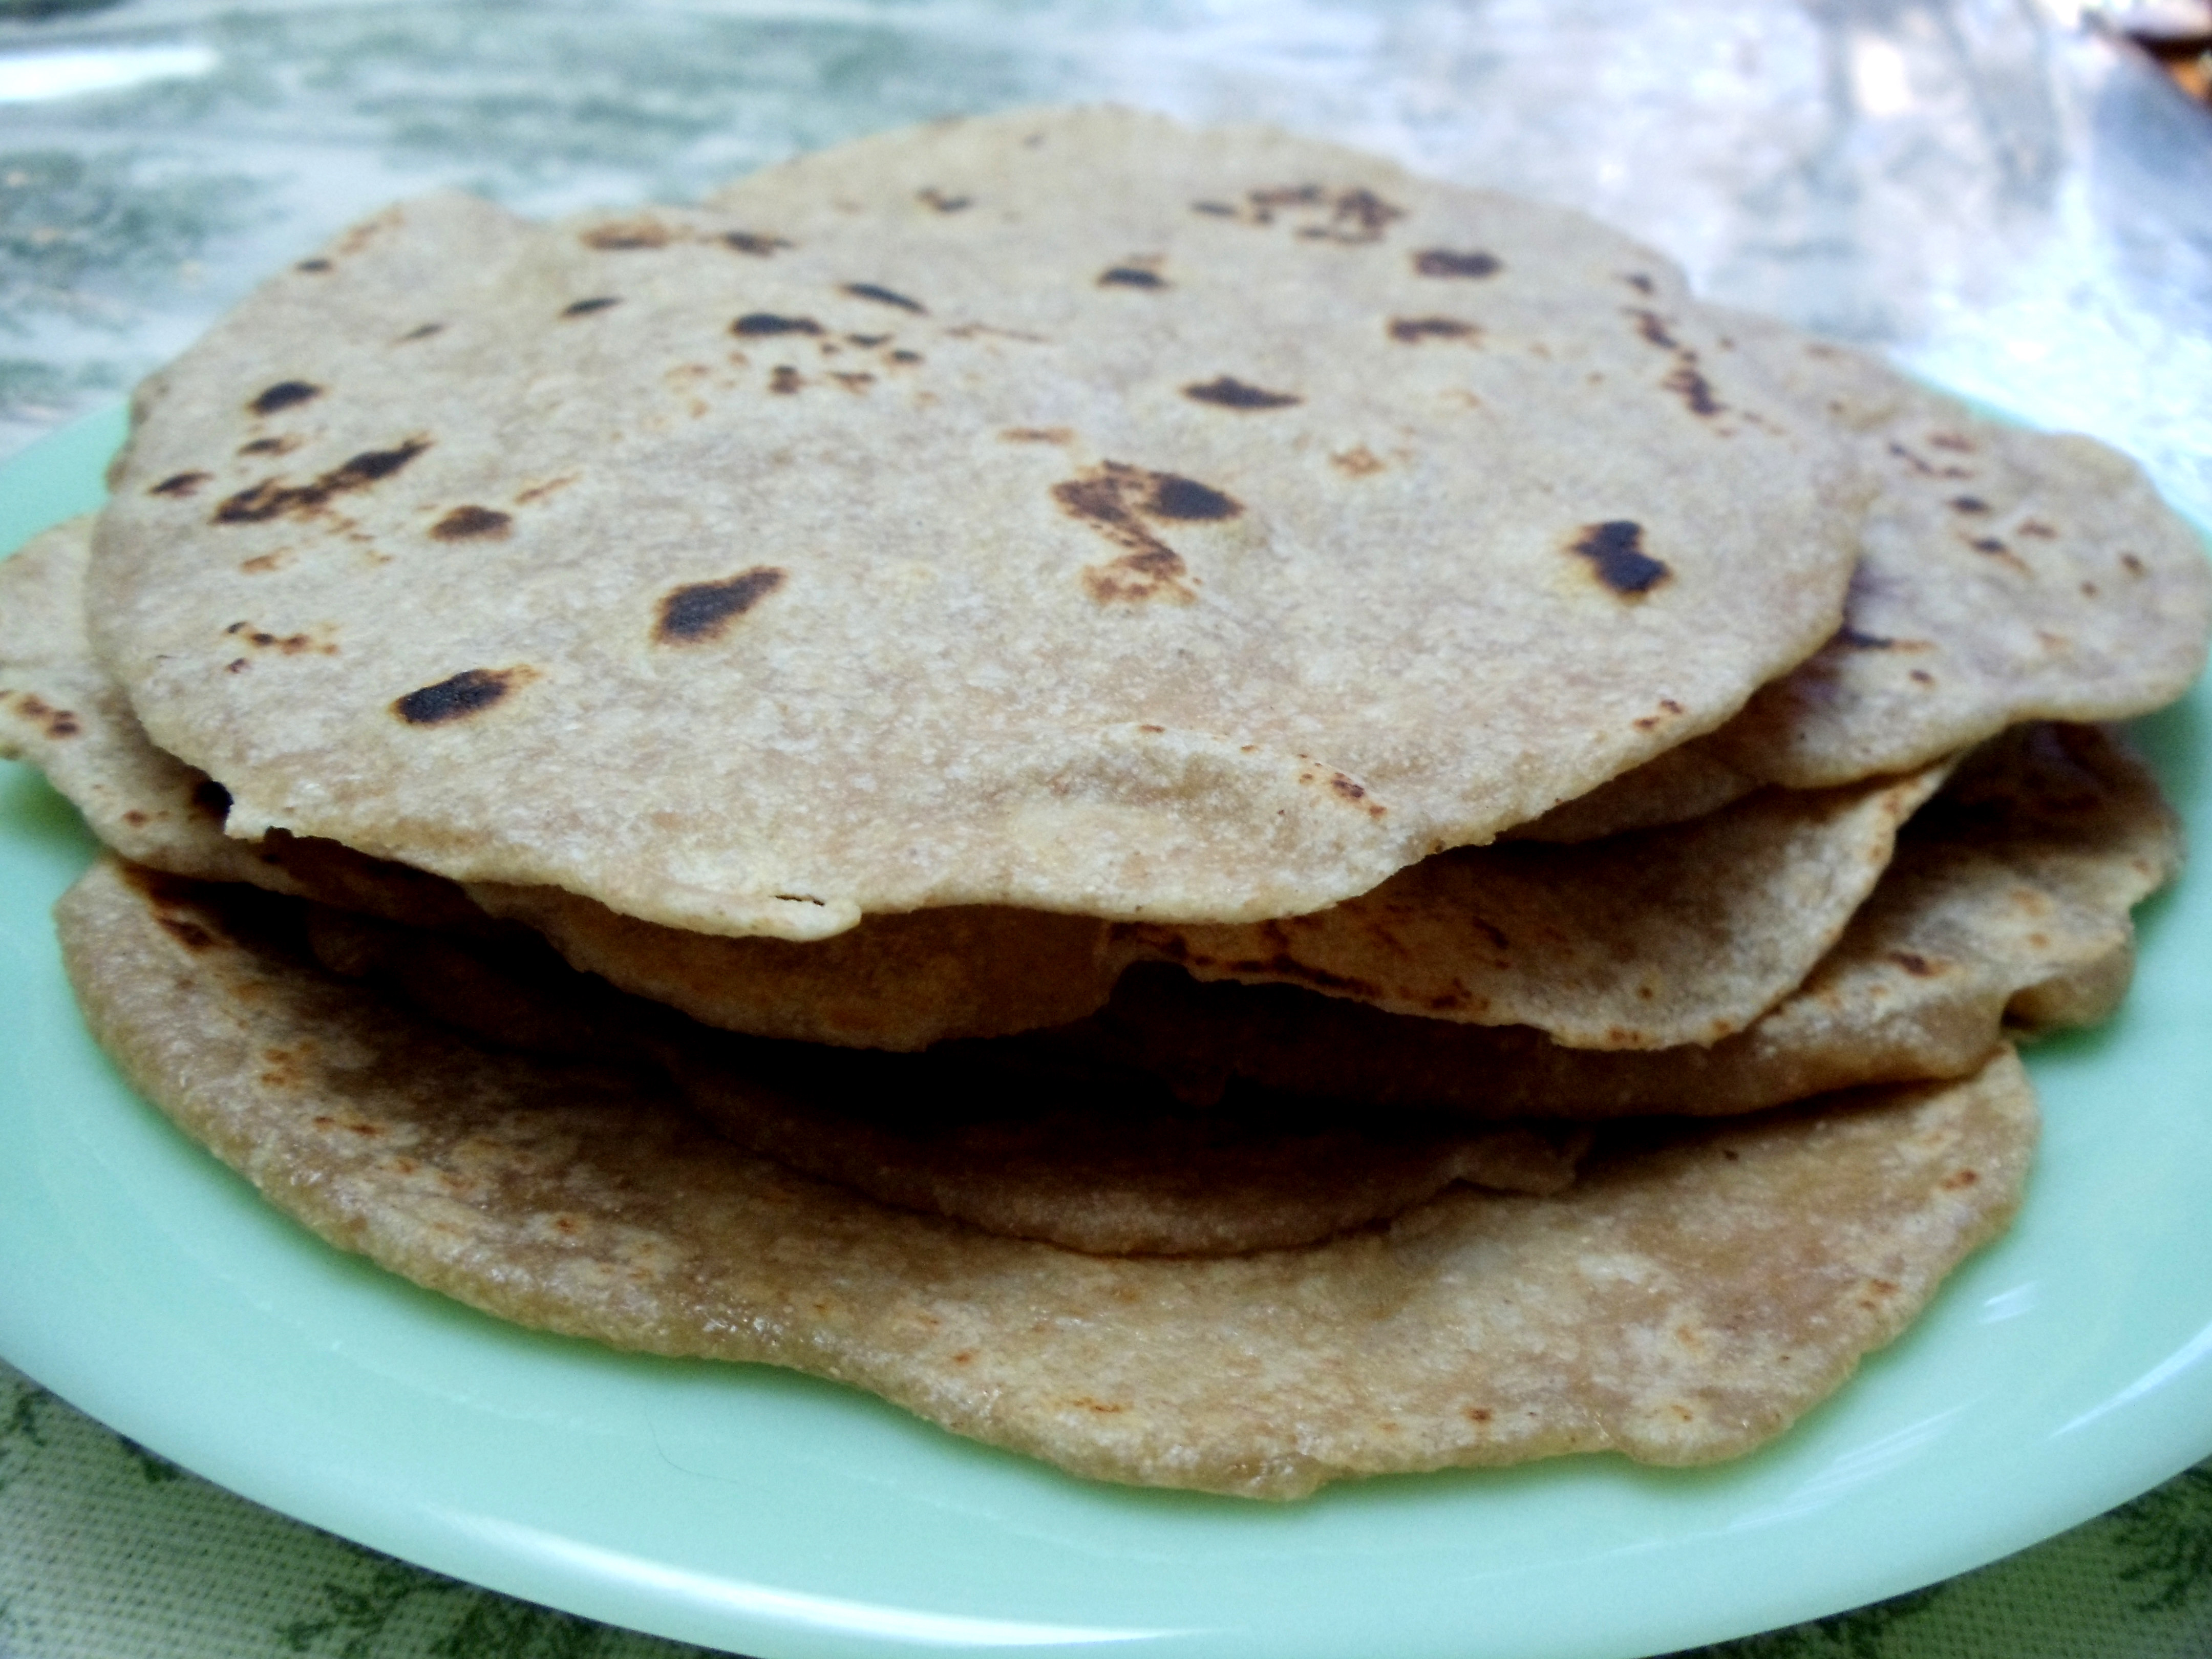
It might be the end of summertime, but it’s definitely still summer here in the Northwest, and I am still giving my oven a summer sabbatical until the cooler weather greets us once again. That means, my family enjoys breads made on the stovetop. Tortillas, English muffins, pancakes, and now, flatbread. Soured and soaked, if you please. This was largely adapted from Gnowfglin’s English muffin recipe. Like most breads, they are simply the best when they are freshly made. To reheat them, simply turn on your stovetop and place them right on the burner for about 5 seconds per side.
Mix cultured dairy or coconut milk with sourdough starter. Add flour. Kneed for about 3-5 minutes. Cover and let it sit out overnight or up to 24 hours.
Kneed the honey, salt, and soda into the dough for about three minutes. Divide into ball shapes; however big or small you want your flatbread to be. We made about 15 of them. Cover with a damp towel.
It’s time to set up your flatbread station. You will be rolling them out (or pressing them if you have a tortilla press) and placing them onto a hot griddle or pan. Grease rolling space, rolling pin, and pans. Heat up pans. This is how we set up our station
It’s important to keep your rolling space greased. We needed to do it about three times. If you wait too long before re-greaseing, you get hole-y flatbread.
Cook on medium-high heat for about three minutes per side. Serve warm. My children like them with raw butter, or with raw nut butter and raw honey, or with raw cheese (rawrawraw. Raw.), or just plain by themselves when they snatch one off the just-cooked stack while I’m still finishing them. I used what I had around the kitchen and made quite a tasty meal out of it by coating the insides with creme fraiche (probiotic point number one) and filling it with fresh garden lettuce, tomatoes, avocado slices, raw cheese (probiotic point number two!), and sprinkled it all with some Celtic sea salt and freshly ground pepper.
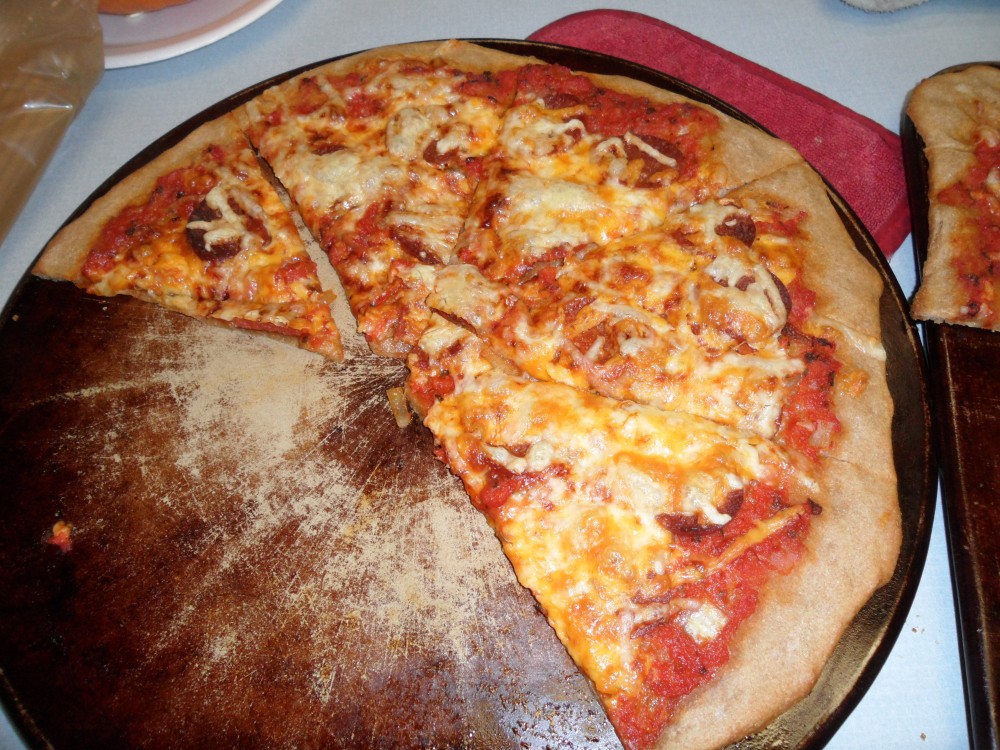
A Healthy, delicious, and easy Pizza Crust recipe made with sourdough, but without the sour taste!
Pour the sourdough starter into a medium bowl.
Add the salt, oil and honey and stir well.
Begin adding additional whole wheat flour, a little at a time, stirring well each time. Add enough to make a knead-able dough.
Cover the bowl tightly and let it sit on the counter for at least 7 hours, up to 12 hours.
Turn the dough onto a floured surface (use unbleached flour for this.)
Sprinkle the baking soda over the dough.
Knead vigorously for 2 minutes. Let rest for 5 minutes.
Roll out on a floured surface until it is large enough to cover your pizza pan. Transfer carefully to pizza pan.
Add sauce and toppings and bake in a pre-heated 450 degrees F. until the pizza is done. Start checking after 10 minutes.
Remove from oven and cut into slices with a pizza cutter.
Let rest for 10 minutes before serving.
Nothing can compare with the taste and aroma of tortillas baking made from fresh corn masa!
Pour the shelled corn into a large colander and rinse thoroughly, removing any unsightly bits.
Drain and pour the corn into a large non-reactive kettle (stainless or graniteware)
Dissolve the pickling lime in 1/2 cup water. Add to kettle. Add enough more water to come a few inches above the corn.
Bring to a boil and boil for 20 minutes. Remove from heat, cover, and let it sit all night.
In the morning, drain the corn in a colander, and rinse well, then pour the corn into a large glass bowl. Cover well with cold water.
Rub the kernels with your hands. The water will become cloudy. From time to time, drain again, rinse and add more cold water to the corn in the bowl. Keep doing this until the water remains clear.
Drain well, and then pre-grind the corn in a food processor, in batches that will easily fit your machine. If you do not have a food processor, you may skip this step and then be sure to grind it thoroughly in the next step.
When it is all pre-ground, then you will need a Corona Mill or a large Metate to finish the grinding. I use a Corona Mill. It is a hand-cranked grain mill that has metal burrs, not stone.
Grind the corn, twice, through the Corona Mill. You will probably need to add just a little water to make the dough nice and soft. Not much. Just a few Tablespoons.
After the corn has been ground twice through the mill, work it with your hands into a nice smooth mass and then it is ready to use. It needs to hold together well, but not be too wet, so be careful about the amount of water you add.
Preheat a griddle on high heat on your stove. You will be using either a tortilla press or two dinner plates to press the tortillas flat.
Take a gallon-sized food storage bag and trim off the zipper end. Cut the bag down the sides so that you have two pieces of plastic with a hinge! Place the bag into the tortilla press with the hinge by the press hinge.
Keep your bowl of dough covered with a damp cloth while you are working. Take a handful of dough, larger than a golf ball and form it with your hands into a smooth round.
Place it in the lined tortilla press, not exactly in the center, but more towards the hinge. Cover with the plastic and then close the press and press firmly with the handle. Alternately, you can put your plastic between two dinner plates and use them to press the dough out. If the dough does not hold together well, you might need to work in just a little more water. Be cautious about this.
Carefully peel the tortilla off of the plastic and place it on the very hot griddle. Bake it until there are some brown spots on the underside, then flip it over and do the same to the top.
When the tortilla is thoroughly baked, remove it from the pan and place it on a plate. Of course, at this point, you will have pressed another one and you can keep baking until you either use all of the dough, or you have as many tortillas as you wish. The remaining dough may be frozen if carefully wrapped.
Whole grains, nuts and seeds contain phytic acid, which if not taken care of, can interfere with the absorption of minerals by the body. Because of this, I decided to work on my flour tortilla recipe, and here is the result. Success!
Combine the whole wheat flour, water and kefir in a small bowl. Stir together, cover tightly, and let it soak for at least 7 hours.
Start heating your griddle or cast iron skillet on medium/low heat. Do NOT grease the griddle.
To the soaked mixture, add the oil, salt and baking powder.
Knead for 3 minutes on a lightly floured surface. (Use the unbleached flour for this or sprouted wheat flour.)
Divide the dough into 6 pieces and form them into little rounds by tucking under the edges.
Let them rest for 5 minutes.
One at a time, roll them out on the floured surface. They need to be fairly thin so they will cook up nice and flexible. Sprinkle with flour to prevent sticking.
When the first one is rolled out, grasp the edges with both hands and place it on the hot griddle.
While it is baking, prepare the next one, etc.
As it cooks, bubbles will appear on the top. Then flip it over and bake briefly on the other side until little brown spots are appearing on the underside. I use a long flat spatula for flipping.
Remove to a plate and cover with a clean dish towel.
These freeze well, and are so convenient to have on hand.
You may double or even make a larger batch of this recipe.
Sourdough acts as the leavener and flavor for this thin and crispy crust.
Combine starter, water, and oil in a bowl. Add flour gradually until it forms a loose ball. Add sea salt. Empty dough on a floured surface and knead, incorporating the remaining flour. Continue kneading process for 10 more minutes. Shape into a ball and place in an oil coated bowl and cover with a damp kitchen towel. Let ferment and proof for 8 hours or longer.
Roll or press out dough. Top with desired toppings and bake at 425 for about 20 minutes or until dsired doneness is achieved.
This yummy and nourishing pizza crust not only tastes delicious, but is quick and easy as well
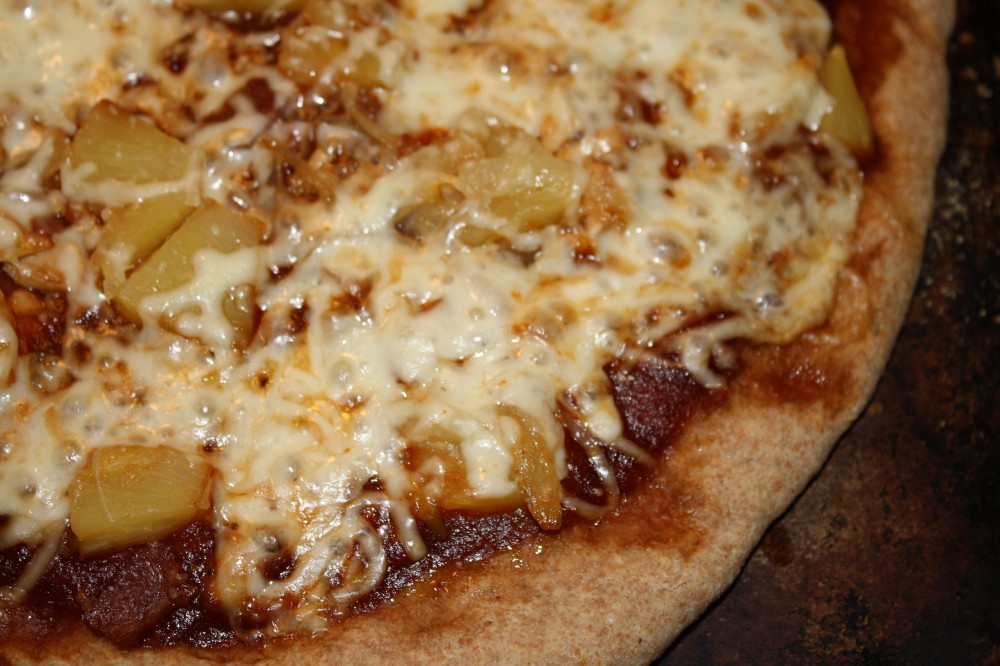
Start this in the morning by combining flour, olive oil and vinegar in the food processor, adding warm water until the mixture forms a ball. Transfer to a well-oiled glass bowl, turning to coat surface with oil. Cover with a towel, and let soak 7+ hours.
When ready to use, move the dough back to the food processor and add in yeast, honey, and salt. Form into 2 crusts and spread lightly with olive oil. Add desired toppings and bake at 450 for 10-12 minutes, until cheese is bubbly. It is not necessary to pre-bake. Possibilities for topping are endless! For this one, I used a homemade barbeque sauce, leftover chopped turkey, nitrate-free turkey bacon, carmelized onions, and pineapple pieces…we all loved it!
Sprouted tortillas are so easy to make and the taste is better than store bought and of course they are so much better for you. Remember sprouted grains are low glycemic and digest as a vegetable and not as a grain.
Combine four and salt in a bowl or food processor add the oil and mix thoroughly. Mix the water with the food processor running
Let the dough sit for 10 minutes covered.
Turn out the dough onto a lightly floured surface, knead it a couple times and pat into a disk.
Pull and roll the pieces into 10 to 12 pieces.
If you have a tortilla press , ( I highly recommend them they are cheap and super handy) use it to flatten each ball as you make and cook them. If you’re rolling by hand, take one of the balls and flatten it into a small disk. Using a floured rolling pin and a floured surface, roll the tortilla into a flat disk about 6- to 8 inches in diameter.
Heat a heavy ungreased griddle over medium hi heat. Toss tortilla onto griddle and let it heat for 1 minute the use tongs and flip to bake on other side. Bake until each side begins to brown and puff in spots about 1 minute per side. While the first tortilla is cooking roll the next one. Transfer the bake tortilla to a plate and make the next one.
Cover them with a towel to keep them soft and warm.