Sweet, crunchy and a quick-grab-breakfast; cereal is an excellent invention. The food industry has really done a number on this convenience food with all it’s extrusion, colors, preservatives and other chemicals and processes. I understand fully that still, it is a hard thing to give up. There are so many varying levels of commitment in a real food journey and once “the box” is gone, you have officially turned a corner in my book.
Preheat oven to 350 degrees. Grind two cups of almonds with one cup of kefir in blender until smooth. Pour mixture into large bowl and repeat with two cups almonds and one cup kefir, pour into bowl. Grind one final batch, this time using two cups peanuts and the final cup of kefir, add this to the large bowl as well. Place oil, honey, salt and vanilla in blender to combine well and add to nuts. Stir the entire batter to combine, sprinkle coconut flour on mixture and mix thoroughly. Pour batter into a half sheet pan (9 x13) and bake for 40 minutes. Let cool and then crumble onto baking sheets or dehydrator trays and dehydrate at 150-200 degrees for 12 - 16 hours. Once cooled, store in airtight container in the refrigerator.
This is a nutritious, comforting breakfast for a cold morning! It is also super easy to throw together after soaking overnight, and after starting, you can walk away until ready to eat!
The evening before, soak millet in water and apple cider vinegar. In the morning, turn the burner to high and add remaining ingredients; when it comes to a boil, turn off heat and let sit for about an hour. At the end of that time, you can serve as is, or turn back on to thicken up a bit.
Are you on the GAPS diet and miss cereal? This grain free version is just as good, if not better than it’s grain full counterpart.
Cover almonds and sunflower seeds with water and 1 tbsp salt and let set overnight. Drain.
Heat oven to 200F. Combine nuts and remaining ingredients, mixing well to combine. Line 2 sheet pans with parchment paper and granola spread evenly. Let bake for several hours, 4-6. Stir occasionally and break up large pieces.
Serve with milk or yogurt. I like to sprinkle a small handful of golden raisins and a tablespoon of ground flaxseed in my cereal.
Fried Cornmeal Mush reminds me of my great-grandmother. It was something special she would make for breakfast when we were visiting her. I’ll never forget how the crunchy, salty outside with a warm chewy center tasted in my mouth with the sweet maple syrup. If you’ve never had fried cornmeal mush, you’re in for a treat!
Soak
Cover 1 cup of cornmeal or grits with 2 cups of lime water and allow to soak at least 8 hours, but preferably 24 hours. When done soaking, rinse and drain cornmeal twice. (If using organic masa, skip this step and proceed below, you will likely have to use additional water since your corn did not soak and masa soaks up more moisture)
Butter 3 small loaf pans or 1 large loaf pan. Alternately, you could line them with parchment paper.
Place soaked cornmeal, salt and 2 cups of stock or water in a heavy bottomed medium saucepan. Turn heat on medium. When the mixture begins to bubble, lower heat and stir constantly, adding a little more water or stock if the mixture is getting too thick. You’re looking for the consistency of thick cake batter. Cook the mush for about 5 minutes more once desired consistency is reached.
Pour cooked mush into the loaf pans and allow to cool. Once mostly cooled, store in the refrigerator up to a week or until ready to fry.
To Fry:
Melt a tablespoon or so of your fat of choice in a cast iron skillet set to medium low heat. Un-mold the mush and slice into 1/4 - 1/3 inch slices (I do this as I fry them, rather than all at once because they can be fragile. Also, if you use the large loaf pan, I slice the loaf in half lengthwise first and then make slices.). Fry mush slices in hot oil on both sides for about 3-4 minutes or until golden brown and crisp. Allow to cool and drain on a plate lined with paper towel or cloth. Sprinkle with additional salt if desired.
Serve topped with a drizzle of grade B maple syrup.
*NOTE: I’ve also made this by soaking whole corn kernels in the warm lime water for 24 hours. Rinsing and draining. Then, pulsing in a food processor until the corn is the texture I want. Then cook it into porridge above and proceeding with the rest.
This recipe is a little difficult, because it has several steps. Refer to the link to my blog for detailed instructions and more picture instructions. It’s very delicious though and well worth the effort! If you don’t want to take the time to soak the nuts and oats, it is easy to convert.
Place oats, water and whey, yogurt, kefir, buttermilk, lemon juice or vinegar in a large bowl. Cover with a dishtowel and let sit from 8-24 hours.
After they have soaked, strain the water off and place on either cookie sheets or dehydrator trays. If using the oven and cookie sheets, set the oven on the lowest setting (150-170°). It will take several hours. You can turn it once or twice to make it go faster. If using the dehydrator set it on the highest setting (around 150°).
Place nuts/seeds in a jar and cover with water and add 1 t. of sea salt to each jar. Soak 7 or more hours. Strain water off and dehydrate in oven on lowest setting or in dehydrator on highest setting. Toasting the nuts slightly after dehydrating is optional, but adds a delicious flavor.
After your nuts/seeds and oats are dried, place oats in a large bowl and chop up into very small chunks.
Next, combine all the nuts/seeds in with the chopped oats. Mix in the other wet and dry ingredients except the raisins until well mixed.
Place granola on cookie sheets for oven method and bake at 350° for 15 minute intervals, turning every 15 minutes to avoid burning. When it is a nice toasty light brown, remove and let cool completely.
If using dehydrator, place wet granola on trays and dehydrate until dry (from a few hours to 24 hours).
When granola is dry, add raisins and mix well. Store in air tight containers.
I love oats… I love oatmeal… here is a new way to enjoy them for breakfast!
24 hours ahead of when you want to serve these, rinse the oat groats, cover them with water, about 2 inches above the oats. Stir in the whey and whole wheat flour. Cover and allow to soak at room temperature.
After 24 hours, drain and carefully rinse. Return the soaked oats to a heavy-bottomed sauce pan.
Add water until it is 1 inch above oats. Bring to a boil and simmer for approximately 30 minutes, covered, tasting a few now and then until they are as tender as you want them to be. Stir frequently.Be sure to keep enough water in the pan to cover them.
When the groats are done, strain out any extra water. Serve with butter, milk, and maple syrup or other natural sweetener.
Creating new versions of oatmeal is a must when your family eats it a couple times a week or more. This recipe is a cinch to make and has very little added sugar. We love the combination of rich, sweet dates and walnuts along with cinnamon.
To Soak:
Combine oatmeal, flour, water mixed with acid of choice and chopped walnuts in a bowl. Cover and leave on the counter for 8 to 24 hours.
To make the oatmeal:
Place the soaked oatmeal mixture and additional 1 1/2 cups of water into a heavy bottomed sauce pan. Bring to a simmer, stirring every minute or so. Once the mixture is pretty thick, remove from heat. Stir in cinnamon, vanilla, maple syrup and dates. Cover and let stand for about 5 minutes.
To serve, top with raw cream and cultured butter!
Move over Puffed Wheat! Here is a healthy and delicious alternative for those who enjoy a cold cereal for breakfast!
Put the oil in a small heavy-bottomed saucepan, melt on stove top over medium heat and add the popcorn. Cover the pan. (Adjust pan size to the number of servings you are making.)
Turn up the heat to medium/high and continually move the pan back and forth quickly over the burner to prevent burning the popcorn. When the popping has nearly stopped, take the pan off the stove.
Pour popped corn into a cereal bowl and top with nice cold raw milk and real maple syrup.
Very very yummy. You can make the popped corn a bit ahead of time, if you like.
You can probably tell by the name that we think this granola is the bomb! And we’re not kidding around here, it really is! Not only is it absolutely delicious, but it’s soaked for optimal nutrition! This granola also makes a thoughtful homemade gift – simply place it in a mason jar and add a decorative ribbon and gift tag and you have the perfect gift for any occasion!
SOAKING
Place butter and coconut oil in a small sauce pan and heat until melted. Pour into a very large ceramic (or glass) mixing bowl and add coconut milk, water and vinegar; whisk to combine. Add oats and rye; thoroughly combine using a large wooden spoon or rubber spatula. Cover the bowl and place it in a warm area of your kitchen for 24-48 hours. (I use Native Forest brand because they use BPA-free cans. Please note: This recipe will not work with coconut milk beverages, i.e. Silk or So Delicious brands.)
BAKING
After soaking time is completed, preheat oven to 200° F. Place honey, maple syrup, salt, cinnamon, and vanilla in a glass measuring cup. Place measuring cup in a small pot of warm water on the stove. Bring water to a gentle simmer, stirring honey mixture until melted and all ingredients are thoroughly combined. Turn off heat and remove cup from pan carefully, using an ovenmit. Pour honey mixture over oat mixture.
Using large rubber spatula, combine the honey and oat mixtures, until well combined. (Tip: As shown in the step-by-step “How to Make Soaked Granola” photo album, I start working at the edges to pull the soaked granola forward and allow the honey mixture to seep down. Then I keep pressing the soaked oats down using the top of rubber spatula, while turning the oats over and over, until everything is well incorporated.)
Spread the mixture out over two parchment paper-lined, 12×17-inch rimmed-baking sheets. Place baking sheets side-by-side in oven for best results. If you have to stack them, be sure to rotate them during bake time. Bake for 8-9 hours, or until granola is mostly dry and crisp. Then turn off oven and allow to sit in warm oven overnight, as described below.
Tips for crispy, non-clumpy granola: After two hours in the oven, use a large spatula to break up the large flat of granola into small sections by flipping over the granola in small sections. Then use the spatula to break-up the moist granola sections into smaller pieces for faster cooking/drying time. Place back in oven and bake for an additional two hours. Remove from oven and repeat the process; flipping over and breaking the pieces into smaller sections. Keep repeating this process every two hours thereafter, getting the pieces smaller and smaller each time. When granola is mostly crisp (usually after 8-9 hours baking), carefully remove the parchment paper, leaving the granola on the baking sheet. Then, turn off oven and leave baking sheets inside the oven with the oven door closed until completely cooled. The granola will get slightly crispier as it cools.
Remove from oven and transfer cooled granola to a very large bowl and mix in any “add-ins” you’d like (see suggestions below). Makes 10-cups of granola (without add-ins). I recommend storing half in an airtight container in the pantry (stays fresh up to two weeks in the pantry). Store the other half in a freezer-safe container in the freezer up to two months to preserve crispness/freshness.
Serve your homemade granola with chilled raw milk, yogurt or simply enjoy it as a delicious snack!
PLEASE NOTE: I highly recommend taking a look at my step-by-step photo tutorial as it visually displays the the process step-by-step. Please visit the link in the byline at the top of the page to see the tutorial.
*GF Option: If you’re gluten-free you can use buckwheat groats for the soak. You can decrease the amount to 1 cup of buckwheat groats and then use 7 cups of GF rolled oats. The reason you need rolled rye or buckwheat groats is because they contain the phytase necessary to help break down the high levels of phytic acid in oats.
This will take your oatmeal to a whole new level! A complete meal in a bowl.
The night before, combine oats, salt, flour, whey, raisins and water. Cover and let soak until morning.
In the morning, beat the eggs and milk together thoroughly.
On medium heat, cook the oat mixture until not quite as thick as you would normally, stirring frequently.
Gradually stir in the egg/milk mixture, stirring well. Keep stirring until it has returned to a simmer to be sure the eggs are thoroughly cooked. Remove from heat.
Top each serving with a dollop of butter and some maple syrup or raw honey.
Stand back and enjoy the ooooh’s and ahhhh’s from your loved ones!
This is really yummy and satisfying on a cold morning! This recipe has the nourishment and easier digestibility from soaking, and extra nutrients from the pumpkin!
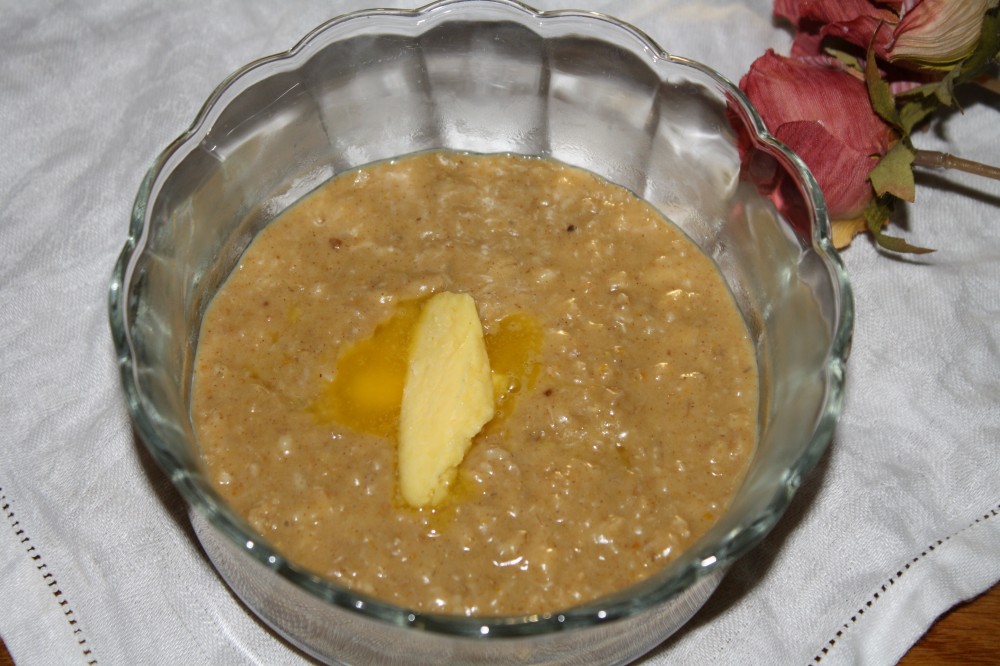
The day before, place oats, flour, and whey in a saucepan. Add filtered water (preferably warm) and stir, then cover and let soak for 12-24 hours. The next morning, add remaining ingredients and cook gently over medium heat until desired thickness is reached. Serve with lots of raw, grassfed butter and enjoy!
This breakfast is so quick and easy to make ahead of time, then is ready to serve in the morning. It can also be changed up to incorporate different flavors. Try adding a variety of dried and fresh fruits, nuts and spices.
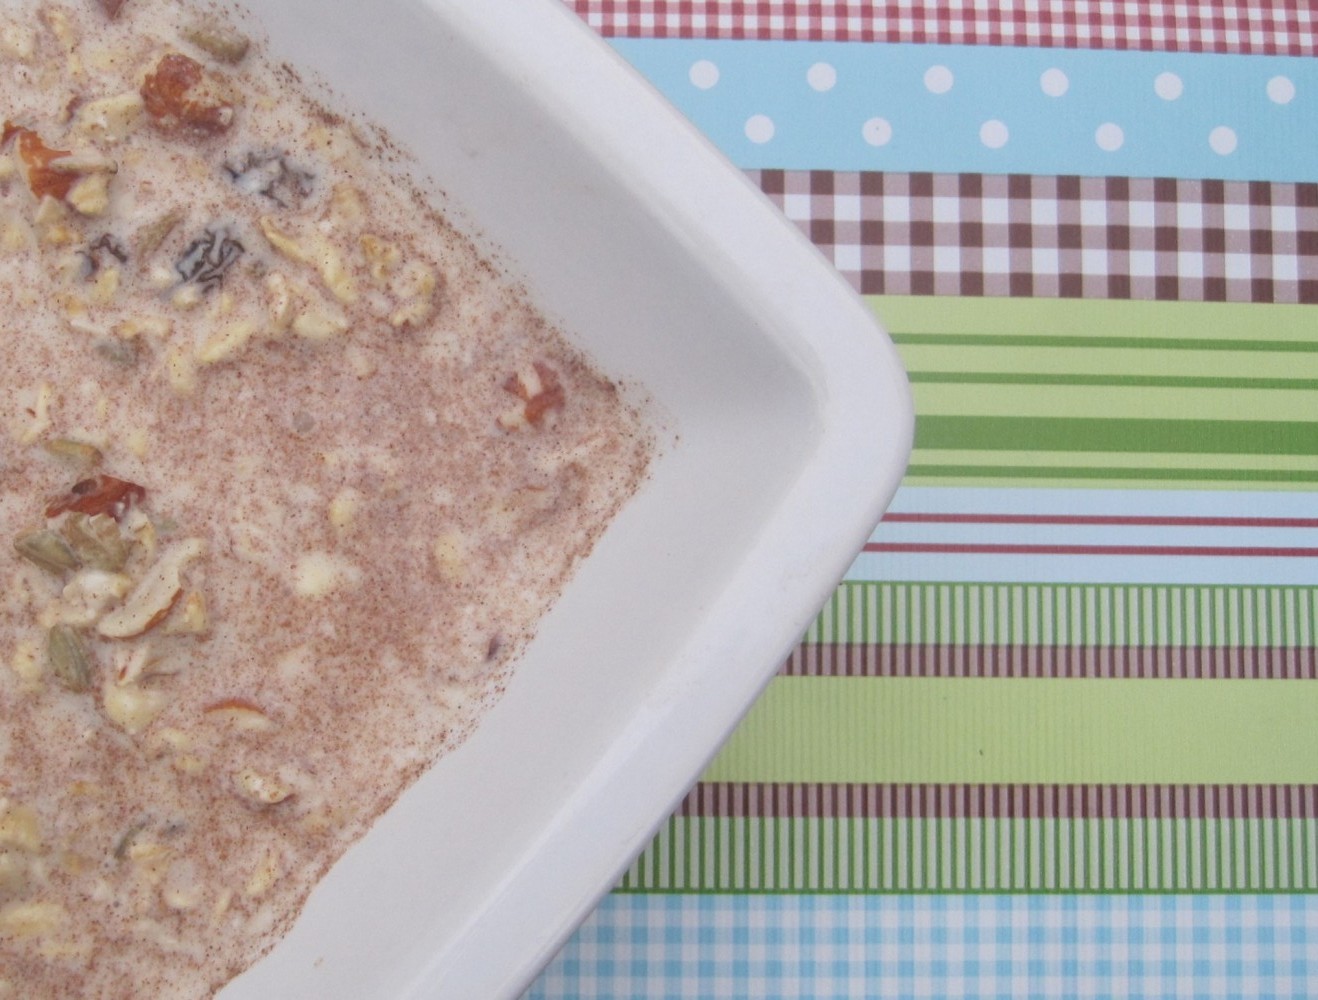
The day before, place yogurt, grains, raisins, maple syrup, milk, cinnamon and vanilla in glass bowl or jar. Mix well, cover and refrigerate. In the morning, sprinkle with salt, mix and serve up portions in bowls. Top each bowl with nuts, fruit and additional milk or yogurt if desired.