There are certain things my husband loves to eat with crackers… and I wanted to get him some the other day. I carefully read label after label, trying to find something that didn’t have any scary ingredients like soy oil and other things that he doesn’t eat anymore. There was NOTHING except some little round “melba toast” garlic-herb thingies and they were made with white flour. I did get those for him. And I got to thinking I might be able to come up with my own version. Here it is and we like it. They are very crunchy, but nicely tasty with some liver pate or broken into soup.
Combine the sourdough starter, water, garlic, herbs and salt in a medium-sized mixing bowl.
Begin adding whole wheat flour, a little at a time and stir in thoroughly.
Add and stir in flour until the dough is stiff enough to knead.
Using a little more flour to prevent sticking, knead vigorously for 10 minutes.
Wash and dry bowl.
Put a little olive oil in the bowl and rub it around.
Put the dough in and turn it over to oil the top.
Cover tightly with plastic wrap.
Let rise for 12 hours.
Moisten your work surface with water and place the dough on it.
Divide it into two, and form into two long skinny loaves that will fit in your French bread pans that have been buttered well.
Alternately, you can put them on a buttered baking pan, but they will be less “round.”
Allow to rise in pans until when you touch it lightly with your finger, the dough springs back slowly.
Bake in pre-heated oven at 400 degrees F. for 30 min.
Cool completely on wire rack.
Slice into 1/4 inch slices.
Place slices on baking sheets and into a 200 degree F. oven.
After 2 hours, turn slices over and put the baking sheets back into the oven for 1 more hour.
Remove from oven and check to make sure they are dry and crisp.
Do not let them cool before putting into containers if you live in a humid climate.
Store in air-tight containers at room temperature.
I am always searching for breakfast recipes that are quick to make, portable, and freezes well. These scones do just that! Even though these buttery scones are made with nutritious coconut flour, they do not require any eggs. The flax mixture helps hold them together and provides Omegas.
Easily freeze these in an air tight container and defrost in a toaster oven for an instant snack or meal. I especially enjoy these with a cup of herbal tea.
Pre heat the oven to 350 degrees.
In a small bowl, stir together the ground flax, milk kefir*, honey, and vanilla extract. Let sit for about ten minutes.
Whisk together the dry ingredients in a large bowl. Cut in the butter using a pastry cutter or fork until the mixture resembles a coarse meal.
Stir in the flax mixture until completely mixed. The mixture should be somewhat dry, but will come together when you squeeze it in your hand, similar to pie crust. If it is too dry, add in cold water a tsp at a time until mixture comes together.
Add in chopped crispy nuts and chopped dates.
Scoop the large ball of dough out and place on an ungreased, parchment lined baking sheet.
Flatten into a disk about 1/2 inch thick. Slice into 8 wedges with a sharp knife.
Bake for about 15-20 minutes or until edges are slightly golden.
*For dairy free: Use 6 Tbsp coconut milk + 1 Tbsp Apple cider Vinegar in place of milk, and use Organic Palm Shortening for the butter
I have two different sourdough starters that live in my fridge. There is Carl, and the new one, which is named Caleb. They are both very nice, the first being more sour in taste than the second.
I had to be away from home for nearly a week and so my sourdoughs languished in the fridge. Normally, I feed them twice a week, and so they are very happy and Not Too Sour. But, after a week’s neglect, I needed to refresh them. I poured out all but 1/2 cup of each, added 1/2 cup of filtered water and 1/2 cup of freshly ground whole wheat flour to each jar. But then I had about 2 cups of extra starter. I didn’t want to throw it away!
In a medium - sized bowl, pour in the sourdough starter, add the salt and the caraway seed.
A little at a time, stir in rye flour until the dough is stiff enough to knead by hand (it will be sticky, and you will not be kneading it.)
Cover the bowl with plastic wrap and allow to ferment for 24 hours on the kitchen counter.
Butter a crock-pot. Any size will do, but I suggest one not larger than 3.5 quarts.
Pour in the dough, and smooth the top of the dough.
Put on the lid.
Plug it in and set on “high” and cook for 2 hours.
Take out the loaf of bread and allow it to cool on a wire rack.
When you are done eating as much as you wish, slice the rest of it and keep it in the fridge.
If you would like to freeze the bread, place pieces of wax paper or parchment paper between the slices, wrap it tightly and freeze. (It is very moist and would otherwise stick together.)
Then, you can remove one slice at a time from the freezer to reheat or toast.
Eat with plenty of grass-fed butter!
These beet muffins are a lightly sweet way to eat your beets without losing the beet flavor. The best thing about this recipe is that my kids love it!
Pre-heat the oven to 300 degrees. Line a muffin pan with cupcake papers or oil the pan.
Whisk together the flour, cinnamon, baking soda, baking powder, salt, ginger, and all spice. Make a well.
Add eggs, oil, honey, and vanilla. Mix together. The batter won’t be as moist as most muffin recipes.
Fold in the beets. I found that almost kneading the beets in was the best way to completely combine.
Fill each hole to 1/2 full. Bake for 15-20 minutes or until a toothpick inserted in the middle of a muffin comes out clean.
Enjoy.
I am not a fan of beets! My family will attest to that. However, when they come in my CSA box, I have to eat them. In order to do that I find or create recipes that allow me to incorporate them into my diet. I adapted this recipe from a recent Food and Wine recipe, and it was heavenly! I love to top this with Brown Butter and Sage leaves, but any pasta sauce will do.
Preheat oven to 375 degrees. In a baking dish with a lid, place beets and drizzle olive oil to coat.
Salt and pepper the beats.
Add 1/4 C filtered water to the baking dish, cover and bake for 1 hour, until the beets are tender.
Uncover dish and let beets cool completely.
Peel skin of beets and cut into 1-inch pieces, transfer to a food processor or blender to puree.
In a mixing bowl with paddle attachment, combine 1 1/2 C of beet puree (reserve any remaining for another recipe), ricotta, egg, nutmeg, 3/4 C Parmigiano-Reggiano Cheese, and 1 T of salt.
Mix until ingredients are combined, scrape down the sides of the bowl.
Sprinkle flour at low speed until dough comes together. You may not need all of the flour.
Scrape dough onto floured work surface, knead the dough until smooth and slightly sticky.
Place into a bowl and cover with a damp towel.
Let stand at room temperature for 4-6 hours.
Line baking sheet with parchment paper and dust with flour.
Cut gnocchi dough into 10 pieces and roll each piece into 1/2 in. thick rope.
Cut ropes into 1/2 in thick pieces and transfer to prepared baking sheets.
Bring a large pot of water to a boil.
Add 1/4 of the Gnocchi to the water and cook them until they rise to the surface.
Repeat this process until all the dough is finished.
Drain them and place them on a baking sheet that has been coated in olive oil.
To serve: Melt butter in a large skillet until the milk solids start to brown.
Toss in sage leaves and simmer until fragrant (med. low temperature).
Add Gnocchi to coat and serve with extra Parmigiano-Reggiano.
My husband is an OTR Truck Driver (Over-the-Road), and you know how healthly these guys eat. NOT! I developed this recipe because he needs whole foods that will keep him filled and nourished throughout those long days. He loves it too. This recipe yields to large loaves, and it freezes well. Great with roast beef sandwhiches or in a classic Rueben!
In a large mixer bowl add yeast, water, succanat, oil, molasses.
Stir to mix, let sit for 10 minutes or until mixture becomes creamy.
Add caraway seed, orange peel, and rye flour.
Mix to combine and let rest for 10 min.
Add salt to whole wheat flour.
Add whole wheat (2 lb), using dough hook, knead with mixer until dough forms a ball and pulls away from the sides.
(About 7 min)
Remove from bowl and knead in remaining flour if needed.
Cover and let rise until doubled (6-8 hours or overnight)
Remove from bowl and shape into two loaves.
Let proof for another 4-6 hours or until it is twice the size.
(This bread will have a nice dome on the loaves)
Bake at 400 degrees for 30-40 minutes.
The long, slow raising of this dough nicely eliminates anti-nutrients. The additon of ground flax seeds, brewer’s yeast and blackstrap molasses kicks up the nutritional punch. This is a lovely moist loaf, good for sandwiches, toast, and it stands alone very nicely! Start this dough in the morning. You will probably be baking it early evening.
Put the yeast into a large bowl. Add the water, all at once.
Grind the flax seed in a little electric coffee grinder.
Add the ground flax seed, olive oil, molasses, brewer’s yeast and salt to the bowl. Stir.
Add 7 cups of flour. Stir well.
Begin adding more flour, 1/2 cup at a time, stirring each time. Keep adding the flour until the dough is stiff enough to knead. Don’t add too much. The amount will vary with your circumstances (flour, humidity, etc.)
Turn dough out onto floured surface, and knead, vigorously, for at least 10 minutes, adding a little flour as you go if it gets too sticky.
If you are an accomplished bread maker, 10 minutes may be long enough. If not, it might take up to 15 minutes to get a smooth, elastic dough.
Wash and dry the bowl. Pour a Tablespoon or so of extra-virgin olive oil into the bowl, and using your hand, spread it around. Place the dough in the bowl and then turn it upside-down. Cover tightly with plastic wrap. Set it on the kitchen counter.
When it has raised until it “sighs” when poked by your finger, punch it down. Replace plastic wrap and let it rise double again.
Form into 3 loaves using a little more olive oil to prevent sticking on your work surface and place in well-greased medium-sized bread pans. Cover loosely with plastic wrap. When it has raised double again, and is springy, put into a pre-heated 350 degree oven.
Bake for 45 minutes.
Remove from pans to a cooling rack.
This bread has good keeping qualities, but if you will not use it all soon, slice and freeze for later!
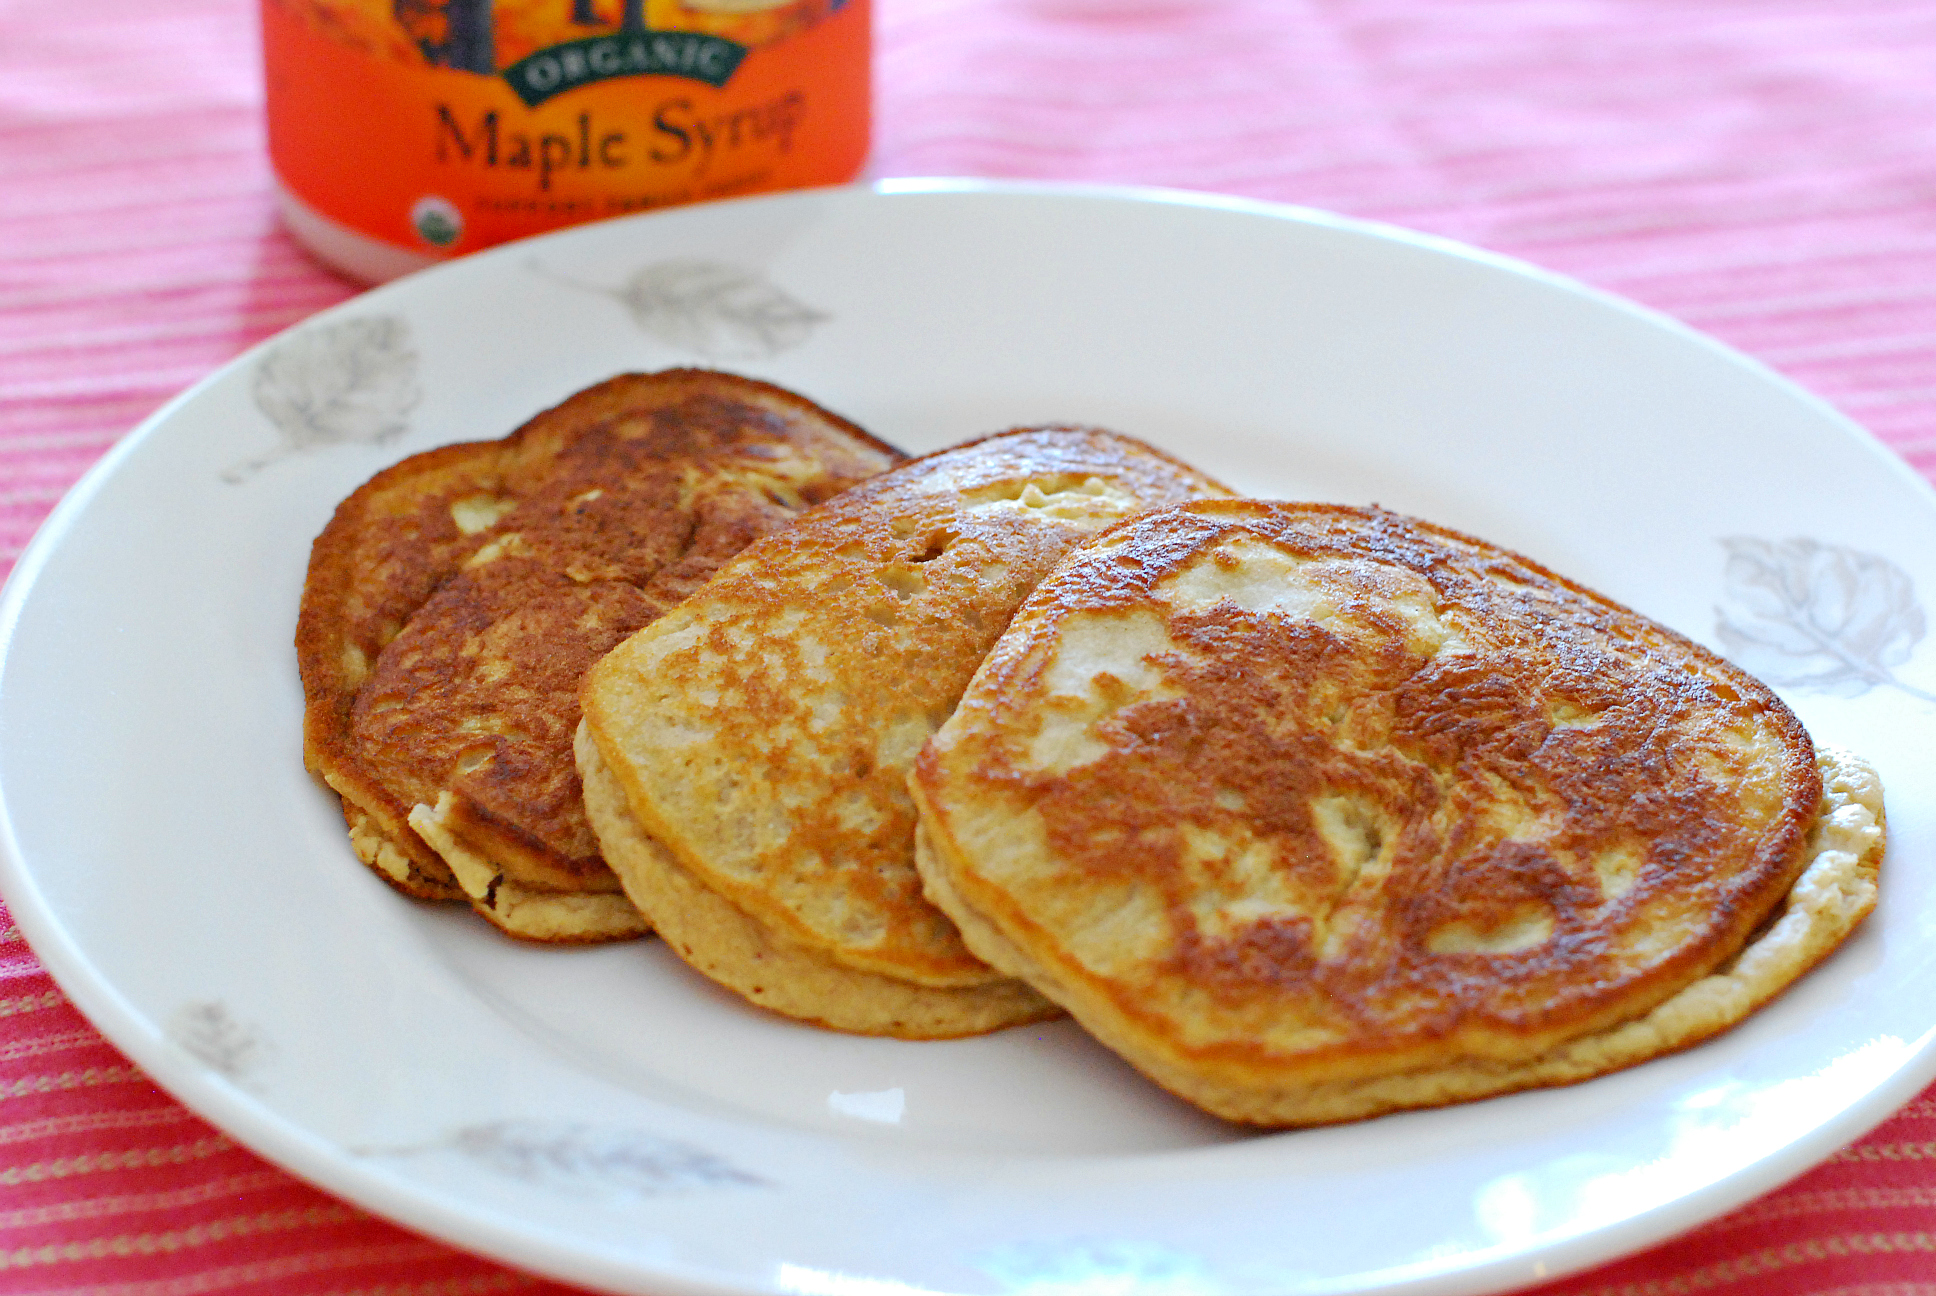
These pancakes are easy to make, and they are grain free, gluten free and dairy free. Coconut flour is much lower in carbs than normal flour, plus it’s high in fiber, protein and has some good fat to boot. These pancakes are fluffy but the texture is a little different than a normal wheat flour pancake.
Preheat a large griddle over medium heat (I use a cast iron)
In a medium bowl, whisk the eggs until liquid and frothy.
Whisk the coconut milk, vanilla and maple syrup (or honey) into the eggs.
In a small bowl sift together the coconut flour, baking soda and salt.
Mix the coconut flour mixture into the liquid mixture. The batter will be thick.
Melt coconut oil or butter in your pan.
Drop the pancake batter by 1/4 cupfuls into the pan, smoothing out the batter so that it won’t be too thick.
Cook until brown on each side and done in the middle.
Serve with real butter, honey, maple syrup, etc.
I am in love with white whole wheat flour. I use it in place of hard red wheat. The kids enjoy it! I started making pita while in pastry school, and I really enjoy eating them better than store-bought. On a side note, make sure your skillet is piping hot in order to get the bread to puff up.
In a mixing bowl, add whole wheat flour, salt, yeast, olive oil, and water.
Knead for 7 minutes unitl it forms a tight ball.
Let rise over 6-8 hours (or over night), or until it has doubled.
Divide dough into 2.5 oz balls, this recipe should give you 10.
Let it rest for 10 minute, cover with a damp towel.
Flaten dough balls, cover again, and rest for another 10 minutes.
In the meantime, heat a cast iron skillet until it starts to smoke.
Roll dough to a quarter inch.
Place each pita on the hot skillet, cook until bread puffs in the center.
Flip over to cook on the other side.
Remove and place on a rack to cool.
These little gems are poppable cheesy, chewy goodness with just a hint of jalepeño flavor. Traditionally, Brazillian cheese bread, aka Pão de Queijo, is made with fermented Tapioca flour, but I only had arrowroot flour on hand and personally think that it’s easier to digest than Tapicoa, so that’s what I used. Sometimes the bread is kneaded, sometimes it is thick. This version is a more liquidy batter that is quickly buzzed up in the blender. The best part is that you can make the batter ahead of time and store it in the refrigerator in a jar for up to a week. This makes it quick and easy to make a last minute addition to dinner or a quick snack.
Preheat the oven to 400 degrees.
Put all of the ingredients except the jalepeños in the blender. Pulse several times until well combined. Scrape down the sides and pulse a few more times.
Stir in the jalepeños. Store in the refrigerator up to a week if you would like, otherwise proceed with baking.
Fill the mini muffin cups all the way to the top.
Bake for 15-20 minutes until well puffed and slightly golden. Remove from the oven and allow to cool on a wire rack. The puff will NOT sink. They will stay nice and firm and will be crunchy on the outside and very chewy on the inside. It is an interesting texture, but delicious.
Serve warm or reheat later.
This recipe was slightly adapted from Simply Recipes.
Silicone Mini Muffin Tray. Safe up to 600 degrees! Click the image to purchase from Amazon and support Eat Nourishing.
These almond flour crepes are slightly sweetened with a mild flavored honey. Almond flour crepes might seem like they would be too tender and fall apart easily, but they are actually simple to make and hold up well. You can even freeze them! Roll them, fold them and wrap with them. With only about a minute a crepe of cooking time, these whip up in a hurry for a nutritious breakfast, lunch or dinner.
Beat the eggs and salt in a bowl. Add honey and vanilla.
Break up the lumps in the almond flour with a fork and slowly add to egg mixture while beating to prevent lumps. Whisk in water enough to make heavy cream consistency.
Refrigerate batter for about 15 minutes to allow the batter to thicken somewhat. Reincorporate the almond flour.
Heat a 10″ cast iron pan on medium heat and brush with coconut oil. If your pan is well-seasoned, you should only have to do this the one time, otherwise brush with coconut oil as often as necessary.
Pour 1/4 cup of batter into the pan and quickly swirl around and tilt the pan to spread it. You may not make it all the way to the edge. That’s okay. When they are rolled up you can’t see the crooked edges. Allow to cook until set, but the top will still appear wet. It only takes about 45 seconds.
Work your spatula underneath and quickly flip the crepe. Cook on the other side another 10-15 seconds. Remove to a plate.
Stir the batter between each crepe. Repeat with remaining batter.
Stack finished crepes on top of one another to keep warm and flexible.
Serve stuffed with cultured Mascarpone cheese and top with stewed fruit. Or come up with your own stuffing and topping!
*Omit honey for a more savory crepe and stuff with eggs, mushrooms and spinach!
**Arrowroot flour is NOT necessary in this recipe and the crepes are still delicious without it. I just happen to think it makes them even better texture-wise. Omit for a GAPS legal recipe.
To freeze:
Separate each crepe with a sheet of parchment and freeze in air-tight container. Thaws in a few minutes on the counter.
Sprouting wheat not only deactivates anti-nutrients that can interfere with proper digestion and absorption of minerals in the wheat, but it also provides a boost in nutrition, bringing into play enzymes and vitamin C that do not exist in un-sprouted wheat. This dense, satisfying loaf is easy to make, and freezes well.
First, sprout the wheat: Pour 2 cups of wheat berries into a wide-mouthed canning jar. Fill the jar with filtered water, cover with either a sprouting lid, or a canning ring over a piece of cotton cloth. Let it sit on the counter overnight, or 8 hours.
Drain the water out of the jar, fill again with water and drain well. Rinse the wheat berries, in this way, twice a day, until the little sprouts that are growing are slightly less than the length of the wheat kernels. Be sure you are looking at the sprouts, and not the little fine rootlets. Depending on the conditions in your kitchen, it can take 1 to 3 days for the wheat to sprout sufficiently. Watch them carefully. If they get too long, the sprouts will taste bitter. It is not a good idea to store them in the refrigerator. They will continue to grow.
Prepare a baking pan by lightly greasing with coconut oil, or put a silicone baking mat on a baking sheet.
Put the sprouted wheat berries into the bowl of a food processor with a metal blade. Add raisins and salt. Attach the lid.
Pre-heat oven to 225 degrees F.
Turn on the processor and let it run for 2 minutes. The dough should be soft and not very grainy at all.
Grease your hands with coconut oil (Important! This dough is STICKY!)
Remove the dough from the processor and on your baking pan, form it into a rectangular flat loaf that measures 4 inches by 8 inches.
Bake at 225 for 3 hours. Allow to cool, completely, on a wire rack before slicing.
Serve with butter, nut butters, honey, fruit spread, or simply plain!
This bread freezes well when tightly wrapped and makes a lovely gift for a like-minded friend along with a jar of your favorite topping or even a package of grass-fed butter.
I like to make 4 at a time, which only takes a few more minutes and saves much time and clean-up in the long run. I simply sprout 4 jars of wheat berries. It smells wonderful when it is baking.