If you brew milk kefir on a regular basis, you will probably end up with extra kefir. When you have more than you can use, here is an easy way to make kefir “cheese.” It is a great replacement for sour cream and cream cheese.
You will need either a cotton or linen bag, or cloth to drain the kefir.
Pour the milk kefir into the bag and suspend it over a bowl to catch the whey that will drip out.
If you don’t have a bag, use a cotton or linen cloth and tie up the ends with a piece of string or a rubber band.
Let the kefir drain for a full 48 hours, then transfer the kefir to a glass container with a tight lid.
Store in the refrigerator.
Save the whey that drains out in a glass jar with a lid in the refrigerator. This live whey is very handy when soaking grains or legumes or starting lacto-fermented veggies.
Once a week, stir the cheese and it will keep fresh for many months.
There are several ways to make mascarpone cheese. Commercially a sort of quick mascarpone is made by using tartaric acid to separate the curds from the whey, but this results in a grainy texture and, more importantly, no active cultures! Some recipes call for a mixture of cream and whole milk and then draining the whey to get a thicker curd, but I am going to share the absolute easiest way to make mascarpone cheese that can even be made with raw milk.
Mascarpone should be silky smooth, thick and rich with a slight tang. It’s super simple to make your very own and you can use it to top pancakes, waffles, dip fruit in, or make your own authentic tiramisu or cannolis.
Place cream into a quart sized mason jar. Add the kefir. Cover loosely and allow to sit at room temperature for 24 hours. After this time you should have a thick curd that should not need straining. If it’s too runny, feel free to drain some whey out.
If you used a lighter fat content cream (or half cream and half milk), you may want to strain your curd in some cheese cloth for a few hours to let some whey drain out.
Refrigerate and enjoy! This will keep for a few weeks. 🙂
NOTE: You can also make this by using creme fraiche in place of the kefir if you have it, but I really like the flavor of the kefir mascarpone and think it makes a thicker cheese.
Last week I had an American woman, who labores in the Ukraine, staying with us while she’s on her year-long stay in the U.S. I really don’t know how we ended up talking about yogurt, but she said they make yogurt in a large pot all the time and she could teach me.
We started out with less than a half gallon of raw milk, and these are the instructions that gave us creamy, thick yogurt. There was no need to sweeten or strain it.
Scald milk in a pot to about about 175° F, stirring consistently. You’ll notice a film come to the top of the milk.
Cool milk to 110° F or until placing the inside of your wrist on the pot just slightly bites, but no longer burns. To speed this step, place pot in a sink full of cold or ice water.
While the milk is cooling, fill a large pot about 1/3 with water and start heating to about 110° F.
Once the milk has cooled to 110° F, stir in one packet of yogurt culture or 1/2 cup of whole fat, plain yogurt.
Pour the cultured milk into quart glass jars, with lids loosely screwed on. Then place the quart jars in the large cooking pot that is 1/3 full of water.
Fill the pot with more water or take out water so that the water line is nearly even with the cultured milk line in the quart jars.
Wrap the large pot in blankets and put near a heater or a warm place in your house and let sit for 6 to 12 hours or until yogurt is thick. Check the temperature every few hours; you may need to add more hot water once or twice.
This is the BEST yogurt we’ve ever had. My husband loves it, and he’s not that easy to please. 🙂 I enjoy it plain, but my favorite way is with a little real maple syrup drizzled on top.
Pour 2 quarts (1/2 gallon) raw milk into your 3.5 - 4 quart Crockpot.
Put on the lid, plug it in, turn it on low and set the timer for 2 1/2 hours (2.5 hours.)
Turn off and unplug the Crockpot and let it sit undisturbed for 3 more hours. Then, measure out 1/2 cup plain yogurt (with live cultures) and mix it into 2 cups of the warm milk.
Pour the milk with the yogurt back into the Crockpot, mix well and put on the lid. Then wrap the whole thing up with a couple of big fuzzy towels or a nice warm blanket and let it sit for another 8 hours. Longer (if you are doing it overnight) will not hurt (up to a point!)
Pour it into a container (I use a half-gallon jar) put on the lid and refrigerate.
Creamy and delicious, this yogurt is full of live enzymes and probiotics…and especially nourishing when made with 100% grassfed milk!
Gently heat milk to 110 degrees.
While the rest is warming, dissolve gelatin in about 1/2 c. of the milk, then heat in a little saucepan until dissolved.
Let cool, then add to the rest of the milk.
After bringing to 110, mix a little bit with the yogurt until dissolved, then add the rest.
Pour into a perfectly clean half-gallon jar, and replace the lid loosely.
Dehydrate at 108 for 8 hours, then let cool before transferring to the refrigerator.
Yogurt should set up a bit more as it chills. Enjoy!
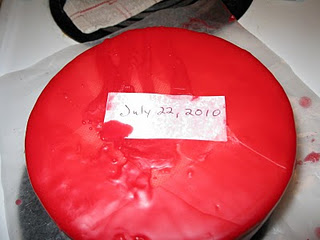
Here is a straight-forward method for making a simple raw cheddar cheese from our own raw goat milk! Please don’t be afraid. After you’ve tried this a time or two, it will be easy. 🙂 You could use raw cow’s milk if that’s what you have.
Pour milk into large heavy-bottomed stainless steel pot that will give you a little room for stirring.
Heat milk gently to 90 degrees F. Remove from heat.
Mix the mesophyllic starter into a little bit of cool water and then stir it well into the milk. Put on the lid and let the milk sit for 45 minutes.
Mix the rennet into 1/4 cup cool water. Bring the milk back up to 90 degrees F. and remove from heat again. Stir the diluted rennet into the milk for a few minutes. Put the lid back on and let it sit for 30 more minutes, or until when you insert your finger in the milk you get a “clean break” when you pull it out.
Cut the curd with a long sharp knife into 1/4 inch cubes. Stir gently with your hand, cutting the larger pieces into smaller pieces for 15 minutes.
Heat the curds to 100 degrees F, increasing the temperature no more than two degrees every 5 minutes. This should take about half an hour or so. Stir gently, with your hand, often, to keep the curds from clumping together.
Place the pan in a sink full of 100 degree F. water, covered, and let it sit for another 30 minutes, stirring it with your hand several times.
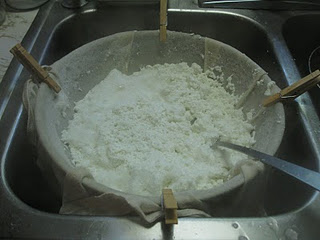
Drain off and save the whey. Pour the curds into a large colander lined with some good quality cheese cloth - not the cheap stuff you buy at a fabric store. I buy mine online.
Put the curds into a large bowl and gently, but thoroughly stir in the 2 Tablespoons sea salt.
Line your cheese press with cheese cloth and put the salted curds in there. Fold the cheese cloth over the top, add the follower and press for 10 minutes at 15 pounds pressure. Invert the cheese press container and press from the other end at 30 pounds of pressure for another 10 minutes.
Remove from press, “dress” the cheese with fresh cheese cloth cut to fit - which will be two little round pieces for the ends and 1 long strip to go around the cheese. Alternately, you can use a large square of the reusable cheesecloth shown on my blog. Return to press at 50 pounds of pressure until the next morning.
Take the cheese out of the press and carefully remove the cheesecloth dressing. Trim off any bits that are sticking out along an edge at the top or bottom of your cheese wheel.
Let the cheese dry in the refrigerator. Let it dry there, on a dish towel, for about 3 days, until it is good and dry. Be sure to turn it over at least a couple of times a day as it dries.
Dip it, twice, in melted cheese wax, return it to the fridge to age for 1 to 2 months, turning it occasionally. I do not have a proper cheese aging room, and the fridge seems to work just fine.
Delicious and versatile Ricotta can be used in many recipes, but the way I make it, it can also be sliced and used in sandwiches, etc.
Pour milk into heavy bottomed kettle. Bring slowly up to almost boiling (at least 200 degrees F)
Add 1/2 cup vinegar. Remove from heat. Stir briefly. Let rest for 15 minutes.
Pour into colander lined with a cotton cloth. Gather up the corners of the cloth, and using a large spoon, press the whey from the cheese curds.
Turn the curds into a bowl and work in 1 teaspoon salt.
While it is still hot, I press the ricotta into a bowl,cover with plastic wrap and chill in the refrigerator.
When cold, it can be sliced or crumbled to use.
Wrap carefully to freeze. It keeps nicely for several months.
Raw milk yogurt is very easy to make at home-even without a yogurt maker! This recipe uses the cooler method to keep the yogurt warm enough to culture properly.
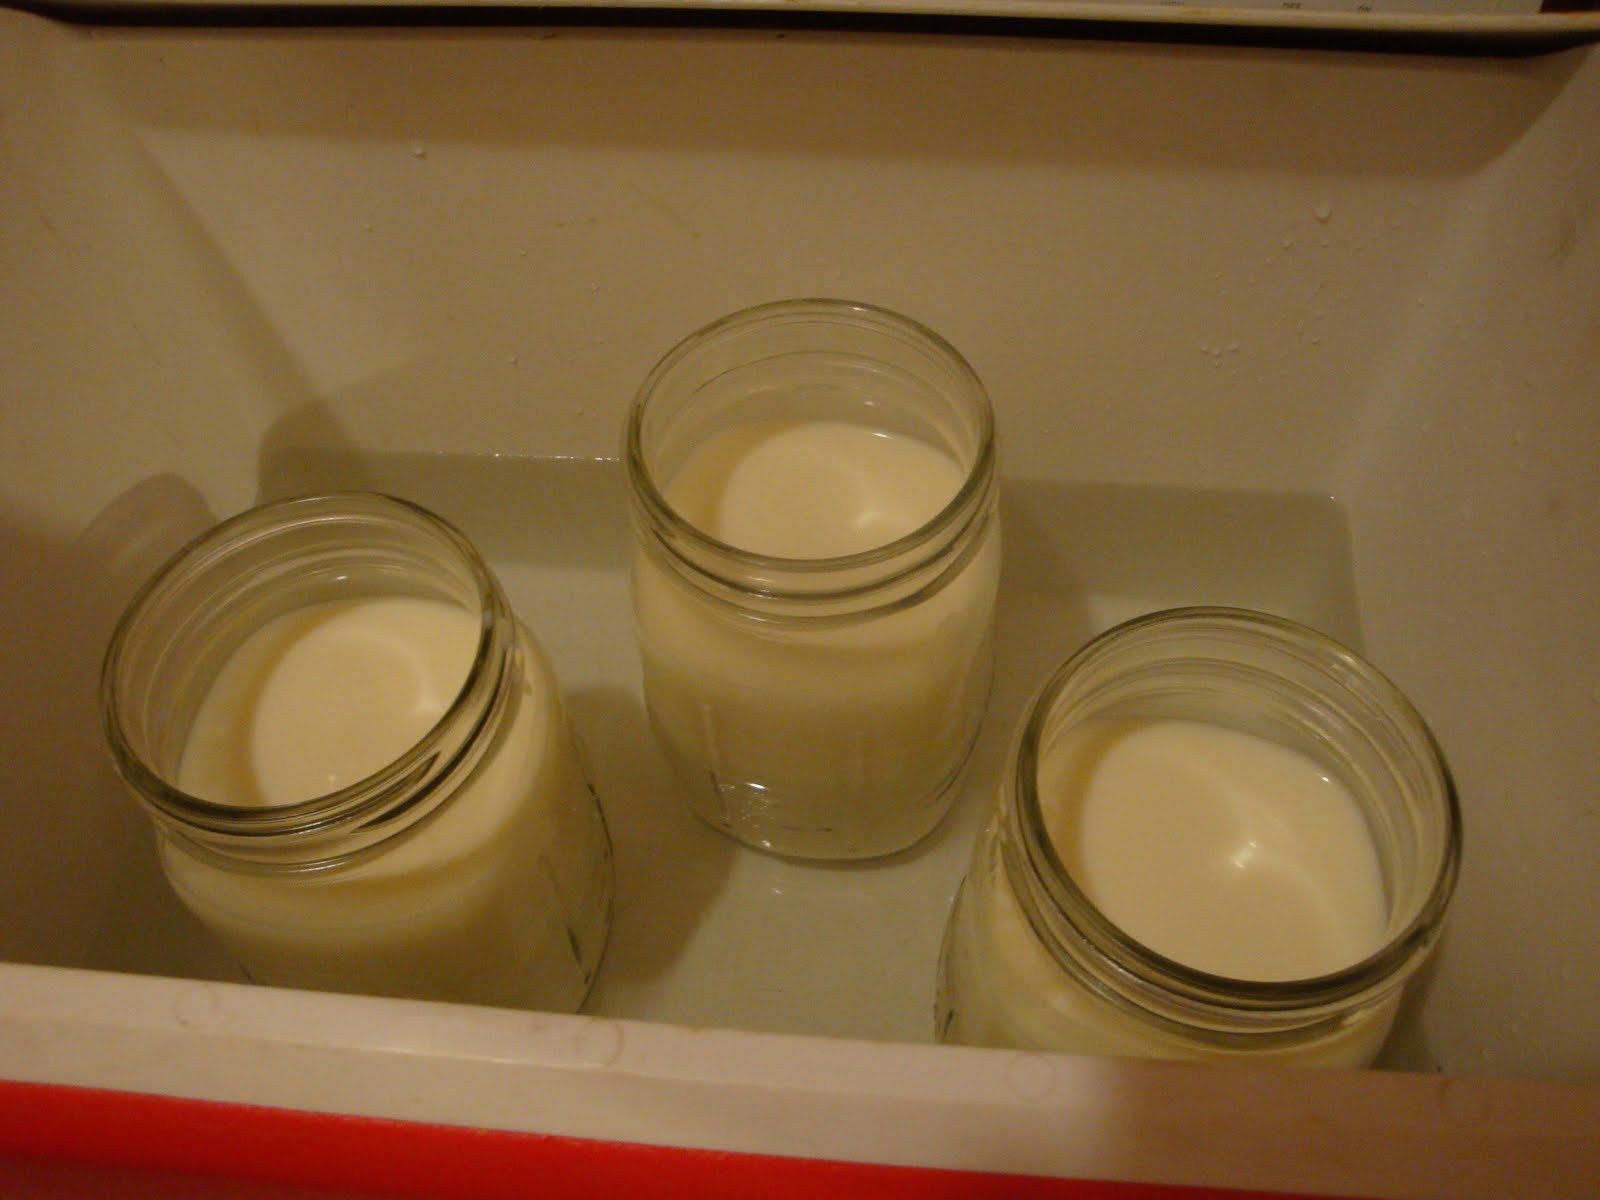
In a stockpot, place up to four 32-oz (1-quart) mason jars inside. Fill the jars with raw milk.
Fill the pot with warm water (about halfway up the mason jars) and gently begin heating at a low to medium temperature. Keep a close watch on the pot. Use a candy thermometer to gauge the temperature of the milk. The ideal temperature for growing yogurt is somewhere between 98-110 degrees, which should feel comfortably warm to the touch.
When the milk is warm enough, place 1-2 tablespoons of a good quality, no-additive, whole fat plain yogurt into each quart of milk, and stir well to mix the cultures.
Place the mason jars of milk into a cooler filled with very warm water. Close the cooler tightly and cover with blankets or towels for insulation.
Leave the milk to culture for 6-24 hours. If culturing for more than 6 hours, you may have to add more hot water to the cooler to maintain the proper temperature.
When your yogurt is done, store in the refrigerator. Keep back a portion of the fresh yogurt to culture the next batch.