Rilettes are real food heaven. Also, they’re versatile to use and really easy to make. Thank the French! You can use rilettes both cold and hot. Cold they’re delicious as a pâté on toast or bread (or just as is); hot from the oven they’re exquisit as an appetizer or meaty side dish.
They provide plenty of healthy fats, protein and any variety of herbs you like. Also, you can make this in advance and keep it up to 3 months in the fridge (but here it never lasts that long).
Rub the herbs and salt into the meat and put it aside.
Dice the fat and render it over low heat in a cast iron skillet or anything else with a thick bottom.
Take out the remaining pieces of skin, unrendered fat etc.
Rub the meat with the herbs and gently place it in the skillet.
To keep the heat from rising too high, add a little water.
Please note: the water needs to be able to evaporate completely in order for the dish to last!
[b]Alternatively[/b], use a crock pot or adjustable temperature skillet. Since the temperature won’t rise over 90C in these, you don’t need any water.
Leave the meet and fat for about 4 hours on low heat, turn the meat every hour.
When the meat is overdone, take two forks and pull it apart into strings. Modern techniques often use a blender to soften the meat. This is possible, but you’ll end up with a soft pâté. Personally, I like the rough stuff better 🙂
Pour it into molds, like cupcake molds or a large cake tin.
The Rilettes will develop a thick layer of fat on top that will seal them from air. They’ll stay fresh for weeks on end. To use them, simply mix the fat and the meat and put it on whatever you like, or put the whole tin in the oven and make it hot and melty!
As a busy mom, who runs a home business, homeschools her kids, and cooks real food, I can’t usually spare the time for “fancy” foods. Hollandaise sauce was one of those fancy foods I never thought to try because it seemed like it was too much fuss for a sauce. Who needs a sauce over eggs anyway? Who has time for sauces?
But after hearing so much about hollandaise-how nourishing it was and how delectable, and my mom telling me how easy it really was to make, plus I was trying to get my kids to eat more butter, I decided to see if I couldn’t make a busy mom version of the fancy stuff. Turns out, it’s no big deal to make and the taste is super worth it! Hollandaise is for more than just Eggs Benedict. Serve it over just about any lightly steamed veggie or over fish. My kids were excited to try as a dipping sauce for steamed veggies. Total win!
The extra sauce is easily reheated in a double-boiler…if there is any extra. 😉
Preheat your blender by filling with very warm tap water and allowing to sit. You may also make this recipe with an immersion (stick) blender.
Melt the butter gently over low heat until very hot, but do not allow to brown. Remove from heat.
Meanwhile, pour the water out of your blender, blend the egg yolks with the lemon juice, cayenne pepper, and salt (if using). This step can be done in a canning jar with an immersion blender, if preferred.
With the blender running, slowly drizzle in the hot melted butter. Mixture will thicken considerably into a velvety, smooth sauce. Once it’s thickened, it’s done! Enjoy!
This recipe makes a mayonnaise that results is a great texture at room temperature. If you’re not going to use it all right away it is best if you store the leftovers in the fridge and set it on the counter 10-20 minutes before you want to use it. It’s still spreadable when cold, just very thick.
I use a stick blender and a wide mouth mason jar to make this quickly and easily with minimal clean up. You could also use a regular blender.
Separate the egg whites from the yolks and set the whites aside for another use. Blend the yolks with your blender for about a minute.
Add lemon juice and blend for 30 seconds, then add the sweetener of your choice and sea salt and blend again for 10 seconds. If you choose to use mustard then blend it in now.
Melt lard over very low heat. Remove it from the heat as soon as it’s melted, or even a bit before. The goal isn’t to cook the egg when you mix it in, but the lard does have to be liquified.
Add the melted lard 1 Tbsp at a time in the beginning, blending between additions. You may add 2 Tbsp at a time once the mayo has successfully emulsified and is getting thicker. If you add too much lard it will separate, so make sure you stop when they mayo has a good spreadable texture. 3/4 of a cup is usually good.
Once the lard is incorporated blend in 1/2 Tbsp of whey, then let it sit on your counter for about 7 hours before storing in your fridge.
Want to make your own tallow? It’s a very easy process!
Cut the suet into chunks - try to keep them a uniform size, aim for 1-2″ cubes.
Place into crockpot on low heat.
Add about a cup of water, this keeps the suet from burning before it melts.
Cover, stir about every hour with a wooden spoon.
As the cubes of suet melt, the cracklins will float to the top. Watch the color of these, because if they burn they can give an off flavor to the tallow.
When the cracklins are golden brown and all the cubes of suet have melted, turn off the heat and allow it to cool for about an hour.
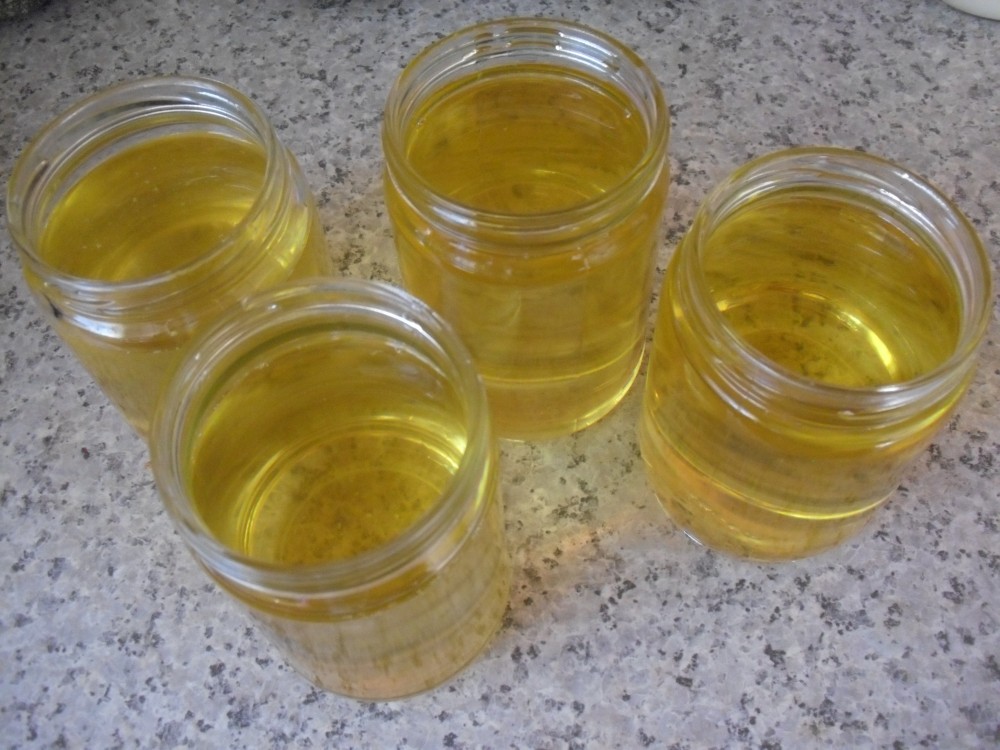
Using a fine mesh strainer and a canning funnel, pour the melted fat CAREFULLY into jars. Remember, it will be very hot!
Use the back of a wooden spoon to gently press the remaining tallow out of the cracklins in the strainer. Allow these to cool, and then they can be frozen and used to flavor soups, added to burgers, salads, etc!
Keep tallow refrigerated. It will harden and turn white as it cools. Tallow can be used in place of oil in almost any recipe!