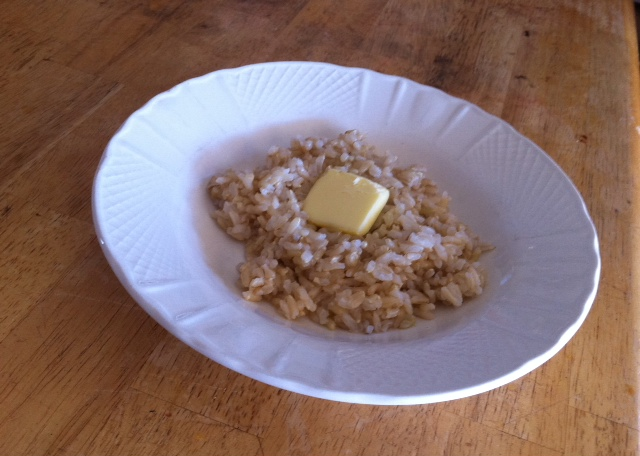
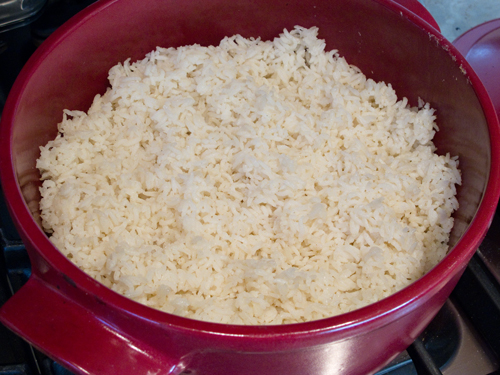
Whether you do it for the nutritional reasons of reducing phytic acid — or because you’re excited to finally make rice that DOESN’T stick to the bottom of your pot! — this basic method for preparing rice is a staple for any kitchen.
In a glass or stainless steel bowl, combine rice and water.
Set aside for 12-24 hours (longer is better).
Remove rice and rinse in a small-holed colander. Notice that the rice has grown in size.
Cook rice (with fresh water) as you would normally.
NOTE: if using a rice cooker, don’t go by the new “soaked” volume of rice. Base your water on the pre-soaked volume (ie - 4 cups). The rice has retained water and does not need as much this time.
NOTE: If not using a rice cooker, watch your rice carefully. Usually soaked grains will cook faster than their non-soaked counterparts.
Optional: Reserve your soaking water for the next time you soak rice. Some believe it will aid in soaking your rice more effectively. Store in a jar in the fridge. Don’t forget to label it! Simply add this soak-water to your fresh soak water for your next batch.
A creamy, delicious, widely-adaptable and nutritious breakfast dish.
This recipe is a great base for riffing on your own! While I note organic is preferred for everything, do the best you can, and don’t feel bad about using non-organic products if they are not available or are too expensive in your area. Even with “less whole” substitutions, this is a tasty and nutritious way to start the day (and it’s not a bad snack, either!)
This recipe can easily be made vegan/dairy-free, gluten-free (using rice processed in a GF facility,) and allergen-free by selecting from the substitutes.
Substitutions:
For the maple syrup, you can use 2 Tablespoons honey plus 1 Tablespoon molasses, or 2 Tablespoons agave nectar. I have not tried granulated sweeteners with this recipe, but they should work just fine added in place of the syrup at the same point.
For the milk, you can use an equal amount of coconut milk, goat or sheep milk, nut milk, or anything your family enjoys. Water is also possible, though the creamy texture will be affected.
For the rice, nearly any grain will work for this recipe, if soaked and pre-cooked.
Toppings:
Chopped nuts, dried fruit, rolled oats (soaked, et cetera as applicable)
Fresh cream (organic, raw preferred)
Additional sweetener, such as honey, maple syrup, or brown sugar
Sliced fresh fruit
Grated citrus zest (lemon and orange are both wonderful)
Vanilla bean paste (contains processed sugar, use with discretion)
Method:
My friend Millie at Real Food for Less Money came up with the base for this recipe, and I’m so glad she did!
Heat the rice and milk in a saucepan over medium heat until bubbly.
Turn the heat down to medium-low and cook to soften the rice, stirring often to help the rice break down a bit (about 5-10 minutes.)
Add the syrup (or subbed sweetener,) salt, and spices.
Stir well to mix and allow to continue cooking.
Break and beat the eggs in a separate small bowl.
Temper the eggs by adding a small spoonful of the rice mixture to the eggs, stirring quickly.
Add another spoonful of the hot rice mixture to the eggs, again stirring quickly and well.
Add the eggs to the rice mixture on the stove, stirring swiftly to prevent clots of eggs forming.
Remove from heat and add the vanilla and hazelnut extracts, stirring well to combine.
Top with your preferred toppings, pulling from the suggestions above or going completely off the chart with something else - so many delicious possibilities with this base!
Sprout your brown rice before cooking to increase nutrient availability and mineral absorption. It’s actually not any more difficult than soaking your brown rice.

Rinse rice well and place in a bowl or mason jar along with about 4 cups of warm pure water. Cover and let stand on the counter for 4-8 hours.
Drain. Rinse. This time do not refill with water. Cover again and leave on the counter.
Drain and rinse the brown rice in this manner 2 to 3 times a day until you see little tails about 1/4″ long coming out of the end. It usually only takes 2- 3 days.
To cook:
Rinse rice and place in a medium saucepan with 3 cups of water or homemade chicken stock. Bring to a boil. Remove the scum that comes to the top. Boil until water is about the same level as the rice. Cover with a lid and shut off the burner. Allow to sit for 45 minutes to steam. Fluff with a fork and serve.
No more rice cookers or constant surveillance over the stove top. No more dry, mushy, or burned rice. For perfectly cooked, easiest brown or white rice, baking the grains in the oven is my go-to method. Bone broths, like fish or chicken stock will increase the nutrition and digestibility of the grains.

Preheat oven to 375F.
Spread rice in an oven safe container; an 8 inch square glass baking dish, an oven safe stockpot, or dutch oven all work.
Stir in boiling stock or water, oil, and salt. Cover baking dish tightly with foil or lid if using a pot.
Bake until rice is tender, about one hour for brown rice, about 35 minutes for white rice.
Remove rice from oven, fluff lightly with a fork. If not serving right away, cover the dish with a clean kitchen towel.
Note: If you soak your rice before cooking, measure the amount of water you are soaking the rice with. Soak. Before baking, strain the soaking water into a measuring cup to calculate how much water was absorbed by the rice. Subtract this amount from the liquid amount called for in the recipe. You will only need to do this once if your soaking times are consistent.

